Kusama Art Projects: Yayoi Kusama! Wow! How has she escaped notice all my life?! But not anymore…as I am thrilled to say, I have a new favorite artist! I came across Yayoi Kusama recently when I was researching and developing an “Art Around the World” series of classes for my students. I was instantly taken by her bold use of colors, Pop Art personality and sensibility, and liberal use of polka dots!!
The more I looked through her body of work, the more and more I fell in love, and the more and more I wanted to introduce her to my students. So I started brainstorming some ideas. Before I knew it, I had come up with some pretty cool Yayoi Kusama art projects that I wanted to try.
I am happy to say that my summer art camp kids were as excited about the projects as I was. Through a bit of trial and error, we all had a lot of fun—and none of us will soon forget Yayoi Kusama!

These Yayoi Kusama art projects that I developed can all be done with elementary or middle school students. Several of the Yayoi Kusama art projects are well-suited for the classroom. However, a few of the other ideas are perhaps best left to an art room.
My Kusama art projects range from coloring pages to a full-on art installation, with posters and paintings in between.
Perhaps you’ll find one (or more) that could work for you and your students. At the very least, I hope that you’ll get better acquainted with a fun, contemporary female artist who has a lot of great art to share with the world!
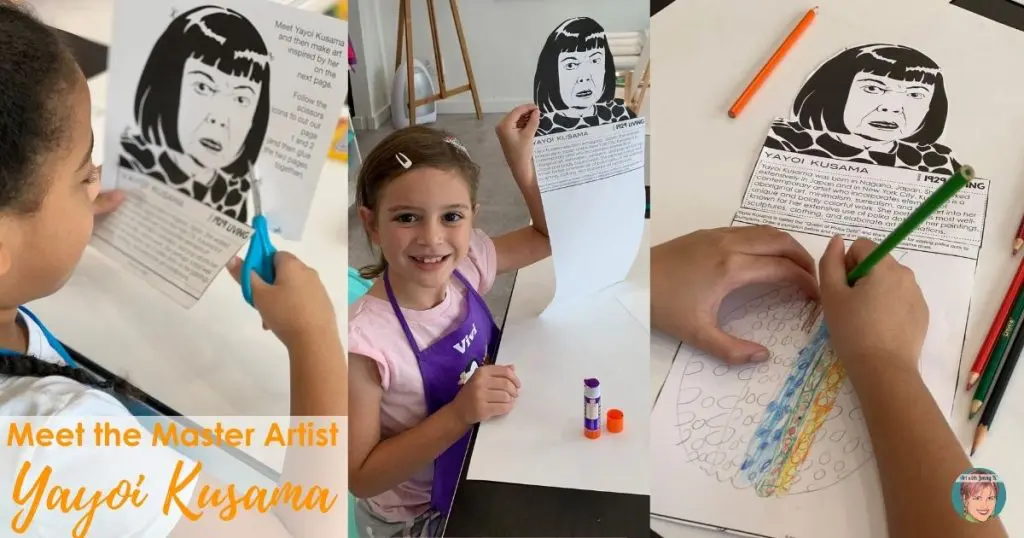
Meet the Master Artist: Yayoi Kusama
To begin any unit, I like to first introduce the artist. If you are looking for an easy and fun way to teach art history in your classroom, you might like my Meet the Master Artist series of art projects. My art history projects are time-saving, engaging, and easy lessons you can use at home, in your classroom, or in an art room. I used my Yayoi Kusama lesson to introduce this artist to my students.
Each resource includes the following:
-
-
- 3 levels (beginner, intermediate and advanced). I recommend that you use the intermediate set as the base of this lesson. Then fill in with the beginner pages for children who need more support. Finally, use the advanced pages for students who need more of a challenge.
- Two-page printables of the artist. Page one is a portrait of the artist with a biography. Page two is a place for students to make art inspired by Yayoi Kusama. I have included instructions for how to do this.
- Biography video. This video is available to stream on YouTube or download from Dropbox after your purchase.
- Handouts and art examples needed to teach each lesson.
- One-page biography sheet coinciding with the video.
- Student instructions.
- Teacher instructions.
-
You can see my Yayoi Kusama “Meet the Master Artist” lesson HERE.
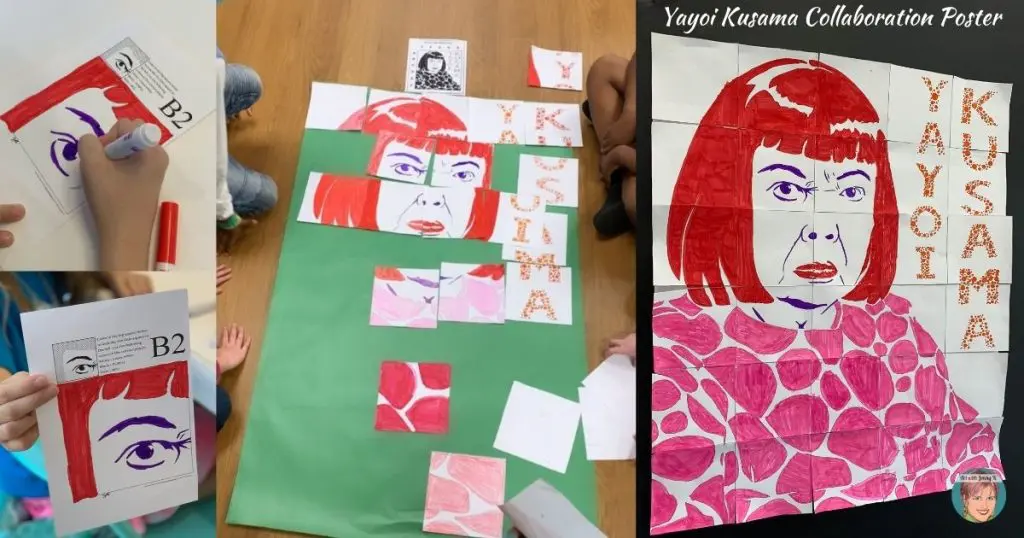
Yayoi Kusama Collaborative Poster
I already have an extensive collection of collaborative portrait posters of historical figures, so, of course, I wanted to add Yayoi Kusama to that collection. Kids love my collaborative posters because each child has a hand in the poster production and a proud sense of ownership of the finished product. Teachers love them because they are super easy to make and put together, they are super stunning when they are hanging up—plus, they engage the kids and help foster a sense of community in the classroom.
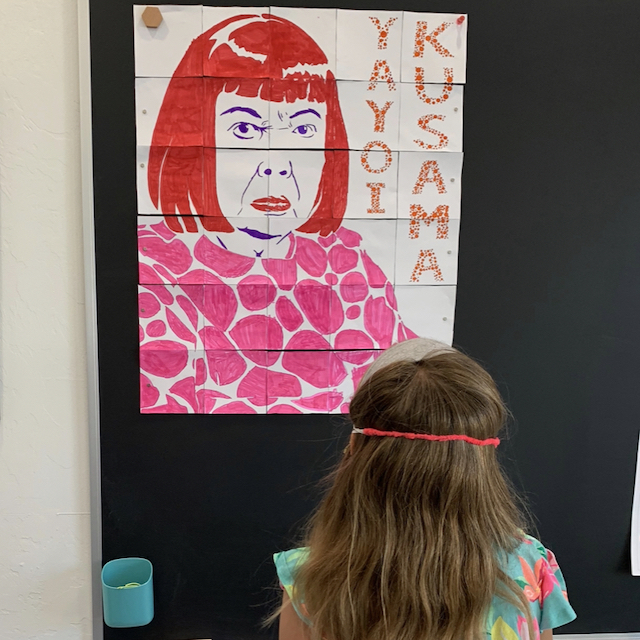
My Yayoi Kusama collaborative portrait poster is as colorful as she is and is perfect for serving as a complement/supplement to any lesson on Yayoi Kusama or supporting your art history lessons/units.
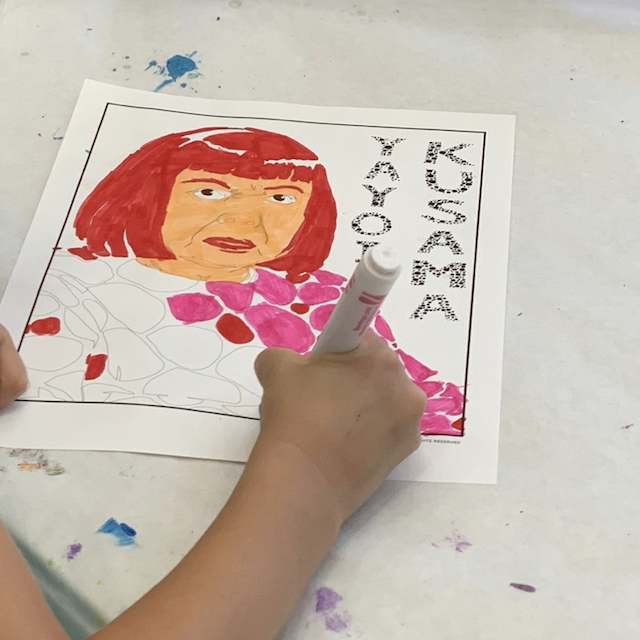
To start this project, each child in class gets their own piece to color according to the instructions on each sheet. Each child will color and then cut out their poster piece. Then, the pieces are assembled to reveal a large mosaic/poster/mural of Yayoi Kusama—a great classroom focal point!
If you want more information about my Yayoi Kusama collaborative portrait, you will find it on Teachers Pay Teachers HERE.
Yayoi Kusama-inspired Painting
Using my collaboration poster of Yayoi was a great way to get the kids excited about and introduce them to this new artist—the best kind of anticipatory set there is. We then moved from collaboratively making her portrait (using my poster) to creating their own Kusama-style painting. Kids LOVE to paint—so this was a fan favorite.
Here’s how I guided them through this Kusama art project and the process of painting their acrylic Kusama-style painting.
Warning: having a classroom full of kids yielding acrylic paint is not for the faint of heart—for one thing, acrylic doesn’t come out of clothes—so this project works best for small groups or children with experience using acrylic paint. It works well in an art classroom as well.
*Please note that any links that take you to Amazon are affiliate links (see disclosure here).
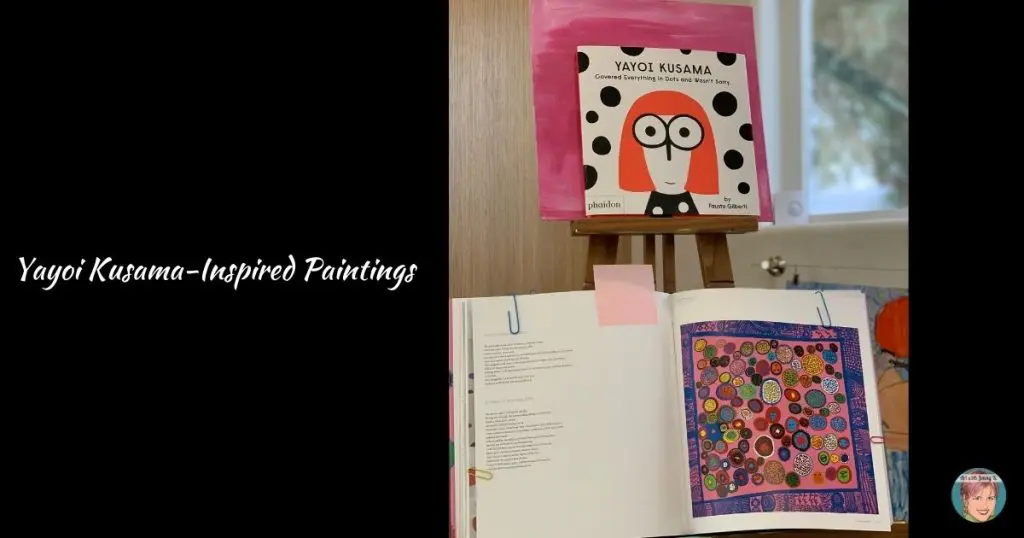
The first thing I did was to introduce them to Yayoi and her artwork. I did this through a couple of books about her. Two of the favorites that I read to the kids and had them look through were Yayoi Kusama Covered Everything in Dots and Wasn’t Sorry and Yayoi Kusama: From Here to Infinity! My kids loved these books, and they primed them to make their Kusama-type paintings.
Another book that I, as an (adult) art-lover, really liked was Yayoi Kusama (Revised and Expanded Edition) (Phaidon Contemporary Artist Series). This book has tons of great photos of Kusama’s artwork and exhibitions throughout her career, but some of them are somewhat “adult,” so I was careful and pre-selected what I showed them—and didn’t let them look through the book themselves.
Then, I distributed the painting supplies. I was having them work in acrylic paints. So, I was sure to issue each child an apron (since acrylic doesn’t come out of clothing).
Here is my supply list:
-
-
- 12” x 12” canvas board
- acrylic paints
- palette (I used white paper plates)
- paintbrushes
- water
-
To start this lesson, I provided each student with a 12″ X 12″ canvas board, a paintbrush, a cup of clean water (with a rock in the bottom to weigh it down) to wash their brush in, and a paint palette (I used a white paper plate). Then, I doled out the paint to each student, putting a dollop onto their palette.
TIP: If you let the kids squeeze out their paint, they will use up all your paint, squeezing out WAY more than they need. Please do it for them on an as-needed basis.
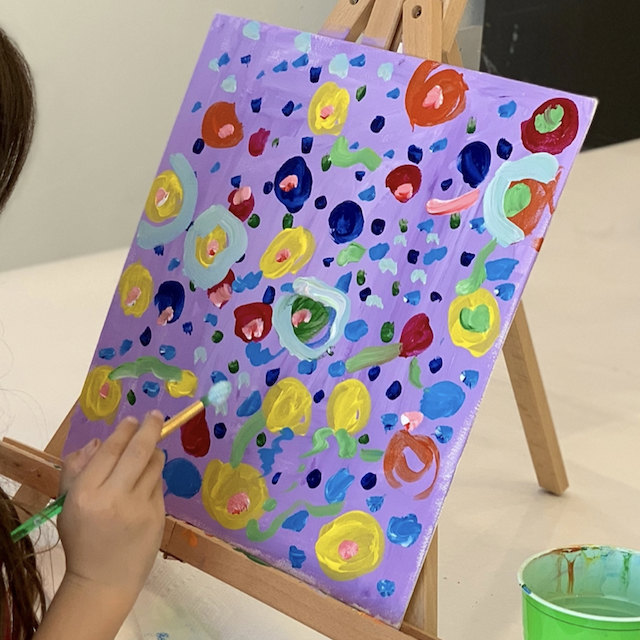
Next, I had them paint the background and then add in foreground designs, details, etc. This produces an excellent final project, but it is not the way most kids work. Inevitably, they want to paint their foreground (fun) objects first and then paint their background. But, unfortunately, this doesn’t usually work as well. So, have them paint the background first!
Finally, let them paint their dots in any design they want!
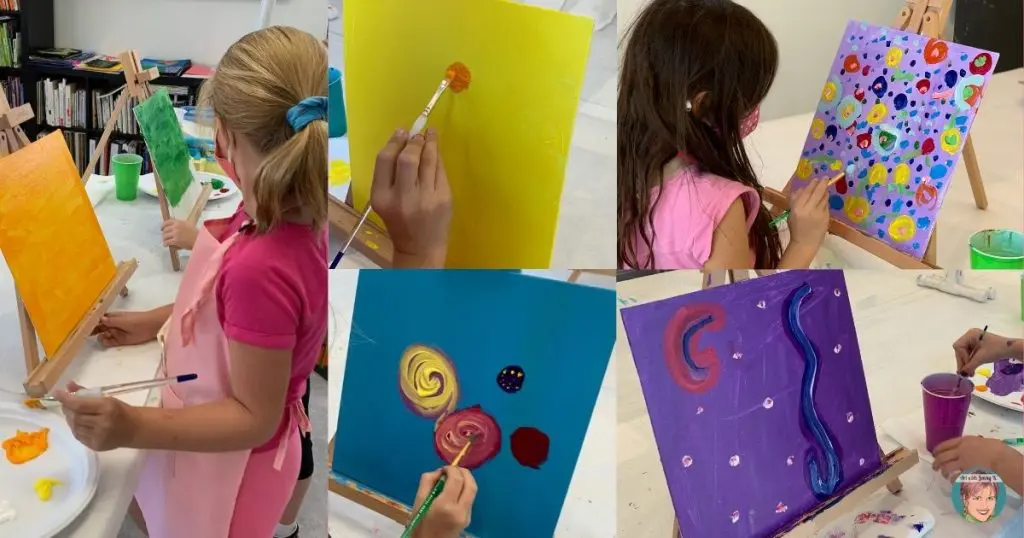
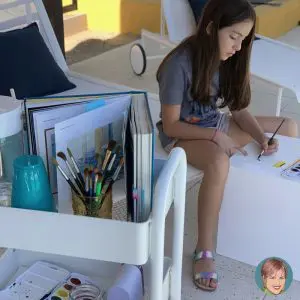
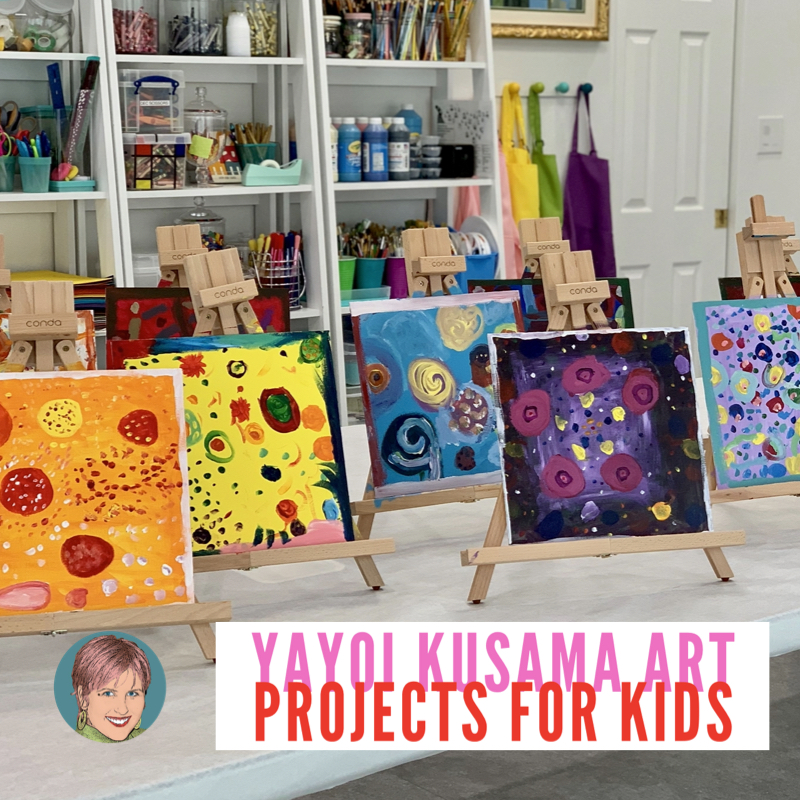
The kids loved standing up, working at an easel, painting on canvas, and wearing an apron with a full palette of paint. They felt they were real artists—which they are! I think you’ll agree that their Kusama-inspired paintings came out great!
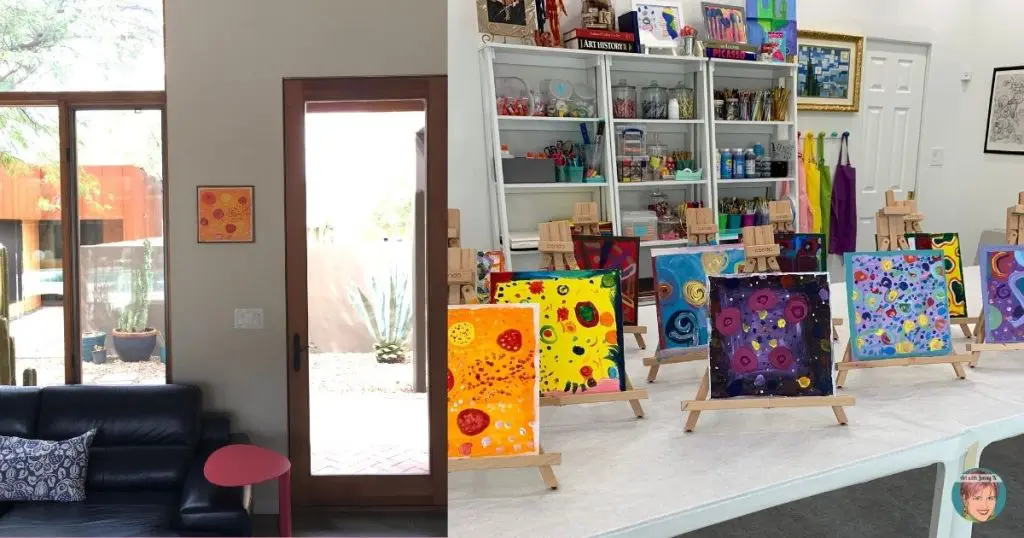
We loved our daughter’s so much that we framed it and hung it by our front door! In our house, we frame our daughter’s art and hang it alongside all other artworks that help make our house our home. I encourage you all to do the same! It is important to display children’s artworks prominently. After all, they are all artists—it makes them see that their ideas and creations are important.
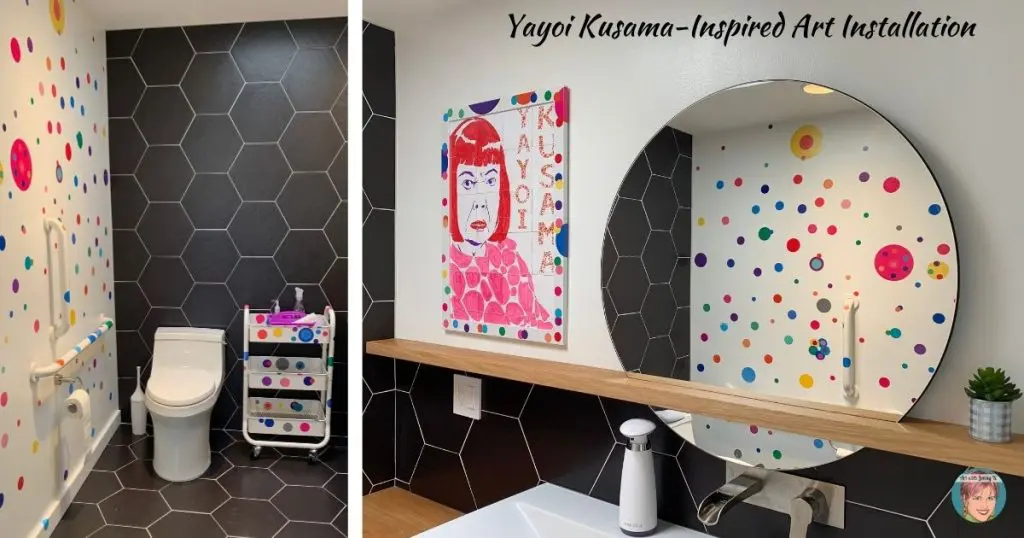
Yayoi Kusama Art Installation
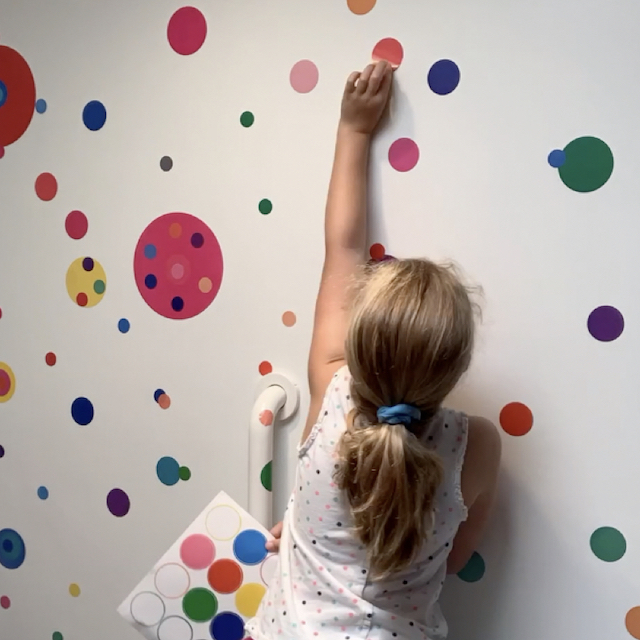
If you thought the kids were excited about painting before, this next project/activity took them over the top-a Yayoi Kusama-inspired art installation! That’s right. I had all the kids create the type of art installation that Yayoi is famous for. Covering a space and everything in it in colorful polka dots!
Yayoi Kusama has set up these interactive artworks in museums across the world. It is a popular, interactive, and colorful art installation! The space (walls, ceiling, furniture, plants(!)) starts pure white. Then as visitors enter the room, they get a couple of colored polka dot stickers that they can put anywhere they want. In this way, the art installation evolves.
As it happened, I had a new all-white wall in the bathroom of my Tucson art studio. It seemed like this wall was waiting for something to come along. And this was it.
I ordered a bunch of (removable) colorful, round vinyl stickers in different sizes. I got these from Amazon. They worked great. (Click the image below for the link, or you can find it HERE).
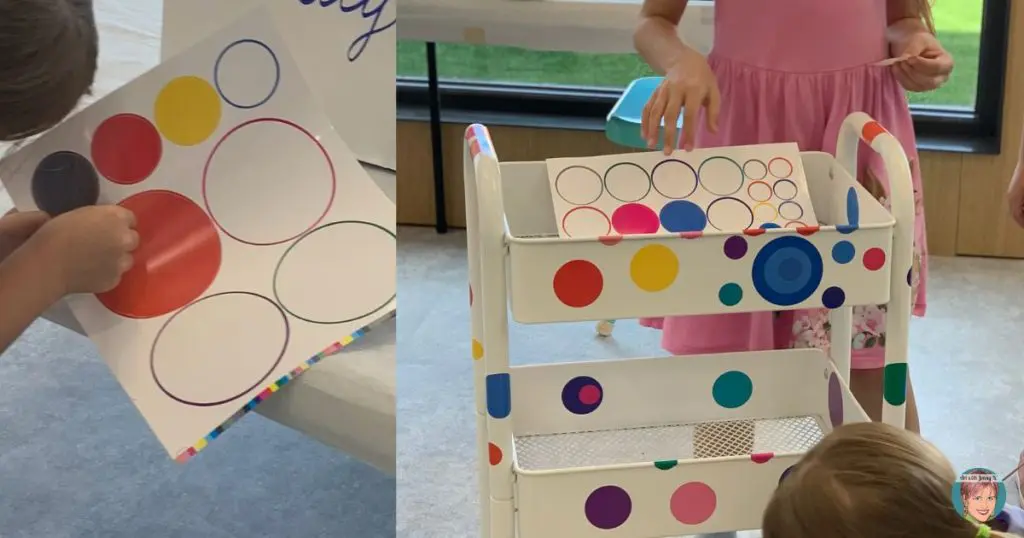
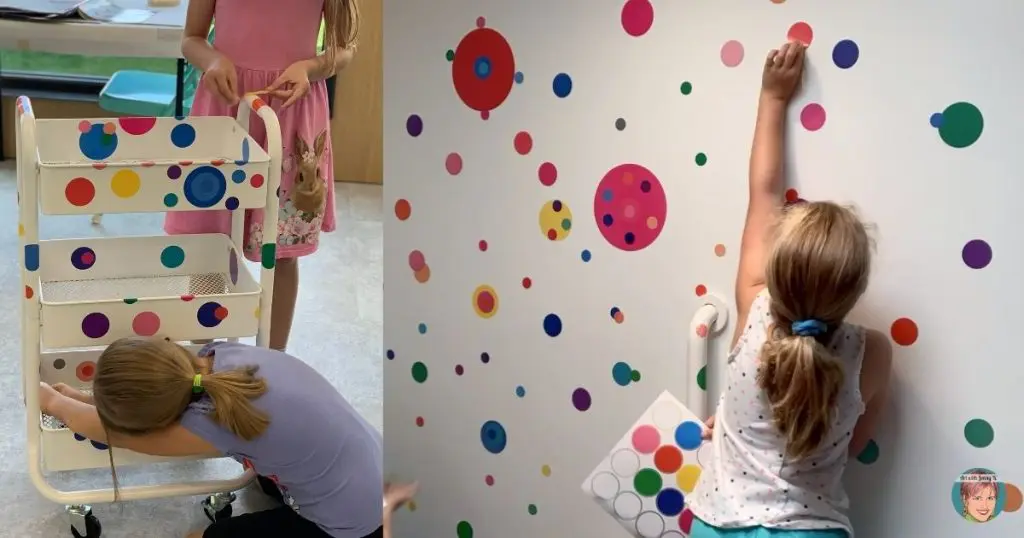
Firstly, I gave each child a sheet (or two) of the stickers. Then I instructed them to place them on my blank white wall—anywhere they wanted to. Of course, their first response was, “Really?” Yes really!
I love introducing kids to all the different forms of “art” and telling them that only their imaginations can limit their ideas. Once they realized that I was serious, they were super excited. Since my bathroom wasn’t huge, I limited the kids in there at one time to about 3 or 4. And then, I sent them in groups to work their magic.
The project came out amazing!! Here is a fun video of our Kusama-inspired artwork coming together.
They had so much fun that I let them decorate some other things around the studio.
I am sooo happy with this, as were the kids. I even think Yayoi would be proud of us!
You could do this in your classroom if you had some blank wall space. Similarly, if you didn’t want it to go directly on the wall or hallway as we did, you could lay out large pieces of butcher paper and let the kids put the stickers on them. And then hang that up in some prominent place in your classroom (a reading nook?), the hallway, gym, front office…anywhere that requires a little color and some fun expressions of creativity!
Finally, no matter what Yayoi activity you decide to try with your students. I know they will be proud of their work.
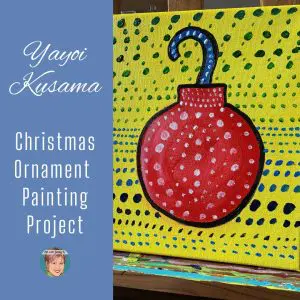
Yayoi Kusama-inspired Infinity Pumpkins
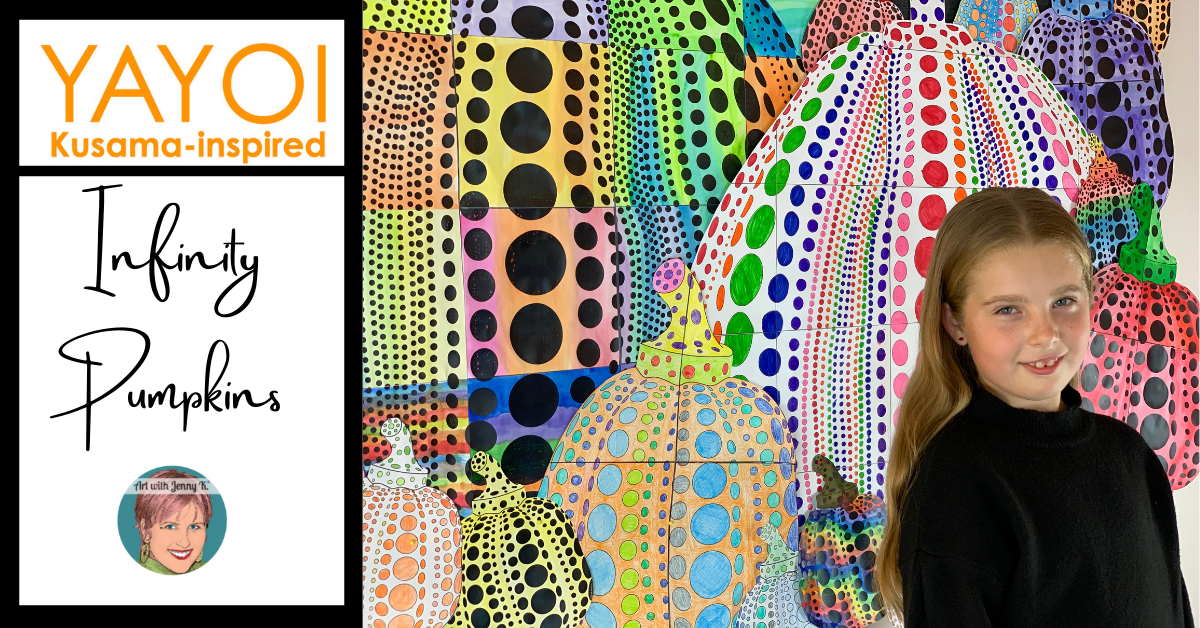
Yayoi Kusama-inspired Infinity Pumpkins. Your student will color and/or paint small, medium, and large Kusama-inspired polka dot pumpkins for this project. This project is so cool. My students loved it and I know your will too!
Yayoi Kusama is famous for many things, but polka dots and pumpkins are the two things she is most famous for. This unique project will combine both of those things with your students’ creativity to create an “infinity” pumpkin bulletin board display—one like no other!
You can find this comprehensive resource HERE.
“Great things are not done by impulse, but by a series of small things brought together.” Vincent van Gogh in a letter to his brother, Theo, in 1882
This Vincent van Gogh quote embraces the sentiment of this collaborative class project and has been added to the large poster design. We can do great things-one dot at a time!
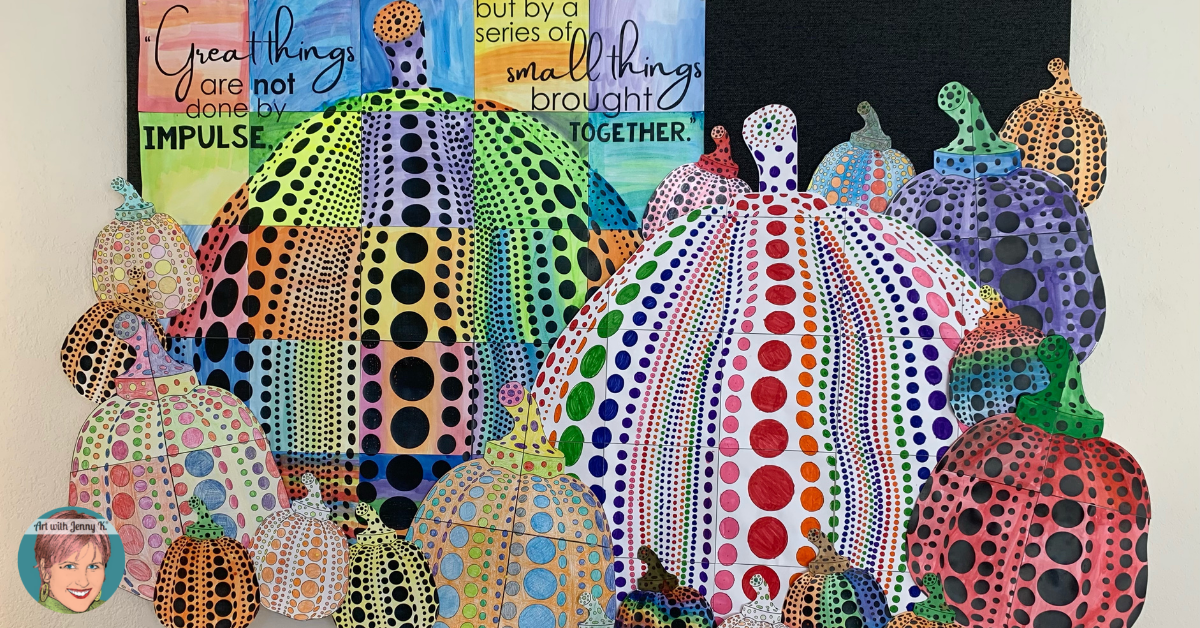
The steps of this project are as easy as color, cut, and assemble. With the final pumpkins, a stunning bulletin board display can be created.
Grade Level Recommendation: Having so many options in one resource makes this an excellent project for grades PreK-8th grade. You can easily differentiate for your students as well. I have only marked this resource grades 2nd-8th. However, this resource could be used with PreK, Kindergarten, and 1st grade if Design #2 is used (crayons, colored pencils, markers, or paint.
There is a lot included in this project.
Pumpkin Design #1: No Black Dots. The first option allows your students to color the dots and leave the background white. Or they could also color the dots and the background. For this option, I recommend crayons, colored pencils, or markers.
Pumpkin sizes included in Design #1:
-
-
- Small: A small pumpkin fits on one standard 8.5″ x 11″ piece of paper.
- Medium: A medium pumpkin consists of four pieces of standard 8.5″ x 11″ paper. These four pieces will be colored, cut out, and then assembled.
- Large: A large pumpkin consists of 25 pieces—each fitting on standard 8.5″ x 11″ paper. Design #1 large pumpkin has an assigned color key. You will need crayons, colored pencils, or markers in red, orange, green, blue, purple, and pink for this option. The final large pumpkin is approximately 36″ x 36″ (the exact size will depend on your printer settings).
-
Pumpkin Design #2: With Black Dots. The second design allows your students to color only the background of the pumpkin. All the dots are already colored black! This option can be done with crayons, colored pencils, or markers. However, if you have the supplies, I highly recommend letting students use watercolor paint with this design (in all three sizes)—more information in the instructions.
Pumpkin sizes included in Design #2:
-
-
- Small: A small pumpkin fits on one standard 8.5″ x 11″ piece of paper.
- Medium: A medium pumpkin consists of four pieces of standard 8.5″ x 11″ paper. These four pieces will be colored, cut out, and then assembled.
- Large: A large pumpkin consists of 25 pieces—each fitting on standard 8.5″ x 11″ paper. Design #2 with the black dots can be colored (however the children would like) using crayons, colored pencils, markers, or watercolor paint. A final large pumpkin is approximately 36″ x 36″ (the exact size will depend on your printer settings).
-
Art Supplies: You can use crayons, colored pencils, or markers to color the pages in this resource. You can also use watercolor paint for Design #2.
Watercolor Paint Tips: You might want to use watercolor paint for the pages with the black dots (Design #2), as my students and I did. If you decide to use paint, copy/print the pages of the poster onto thicker paper (card stock will work). You will also need to print with a laser printer or make copies on a printer that uses toner (more details in the resource).
Yayoi Kusama-inspired Infinity Pumpkins Project HERE.
Email Sign Up
I love to spoil teachers, parents, and administrators who sign up for my emails by sending exclusive freebies, tips, and tricks, as well as special announcements of sales. Not to mention, after you join, you’ll get invited to my “Subscribers Library” of freebies like my Yayoi Kusama Freebie.
It’s easy. Simply sign up below (under “share and save”), and you’ll get my free ebook sent right to your inbox (check your spam folder if you don’t see it).
Then, a few days later, you’ll get information on accessing my subscriber-only library, where you can download this freebie (along with many others). In the meantime, you can enjoy my free ebook content.
These Yayoi Kusama art projects for kids were a big hit and left a lasting impression on my students. Above all, I hope you and your students have as much fun with them as we did.