
This pair of Maya Angelou activities and the connections that they engender are great examples of the value of art integration in the classroom. The activities are perfect for teachers (no prep and super easy), and they are so fun for kids. Kids will be creative, make art, and, most importantly, make connections that will help them remember Maya Angelou and the work that she did!
Doodle and Do Poet Study
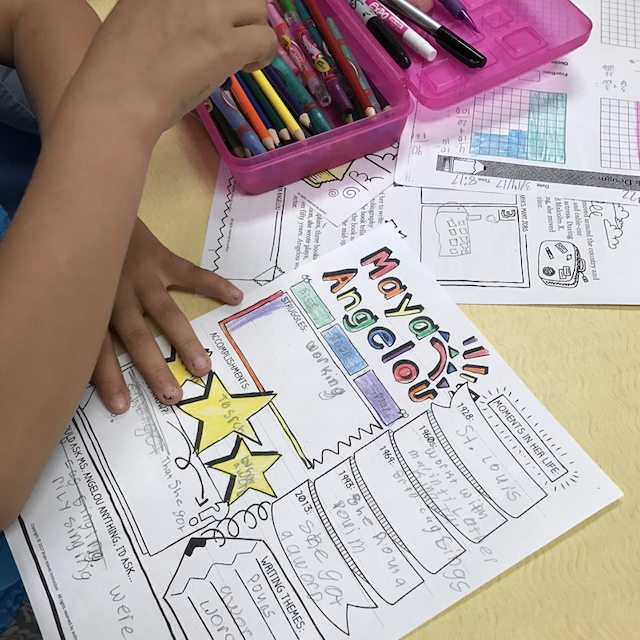
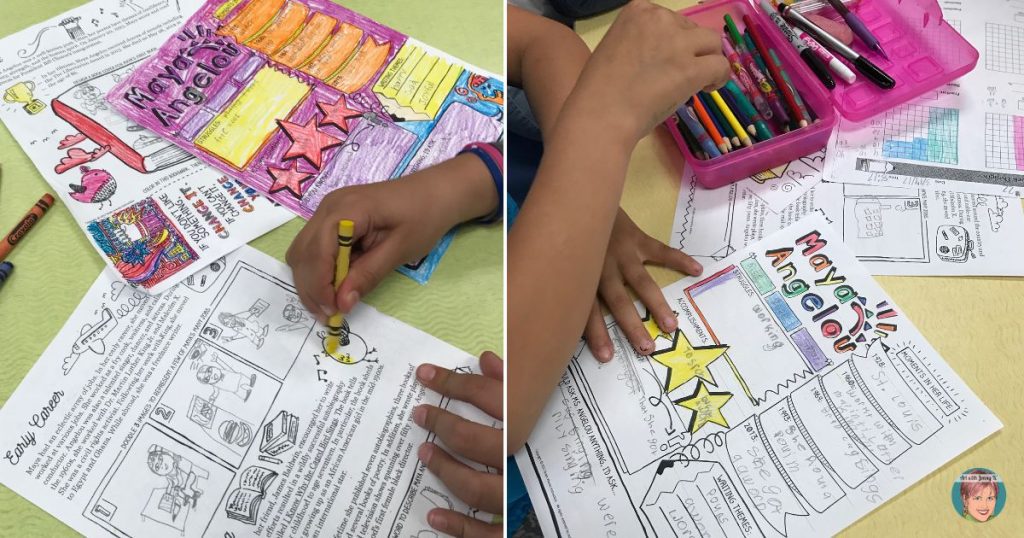
This 30-page resource from Brain Waves Instruction is jam-packed with goodies! Students will analyze the poem “Life Doesn’t Frighten Me” and learn about Maya Angelou. Included are doodle articles, doodle notes, and even a very cool interactive poetry analysis flipbook!
Before I got to the class, the teacher had started working with the kids on this unit. She had them read about Maya and doodle their responses right into the passages!
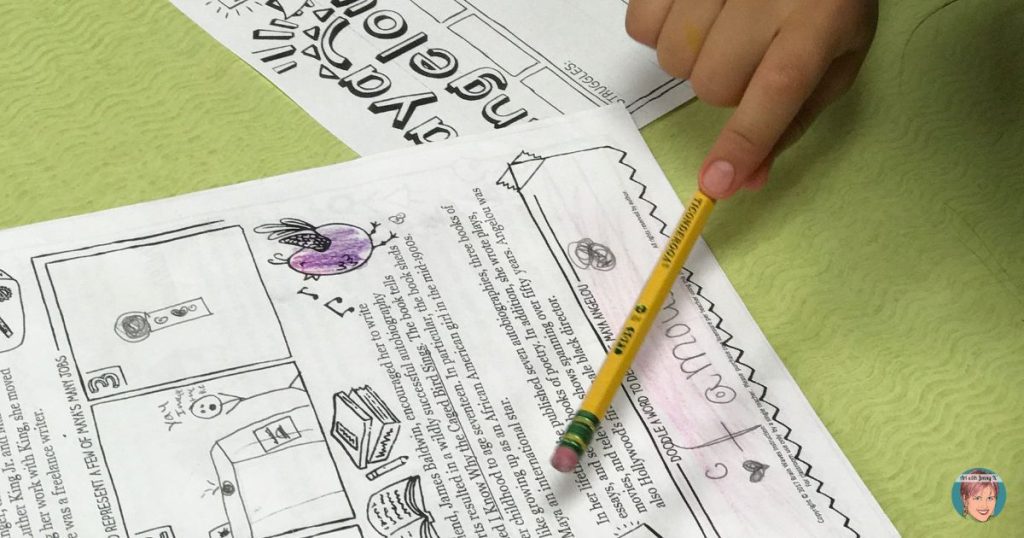
When I arrived, the teacher asked the kids to review what they had learned about Maya from their work the prior week. It was obvious from their answers that they had really retained the information when they were asked to “do” something to answer various questions. Having that connection between reading and then doing something – like a doodle drawing – really helped the kids remember the content.
You can see this activity from Brain Waves Instruction HERE.
Collaborative Poster Art Project
(Sadly) There is no art teacher at the school I was working with, so this 4th-grade teacher is a true rock star who looks for as many opportunities as possible to infuse her lessons with art and creativity! That’s where I come in…
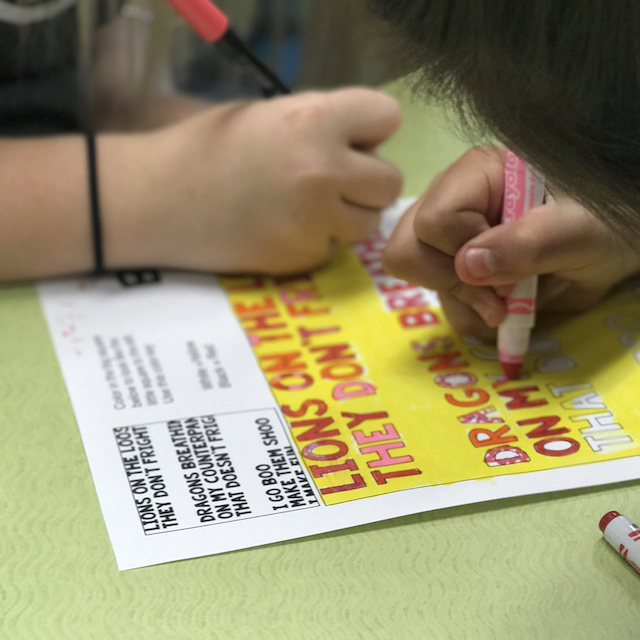
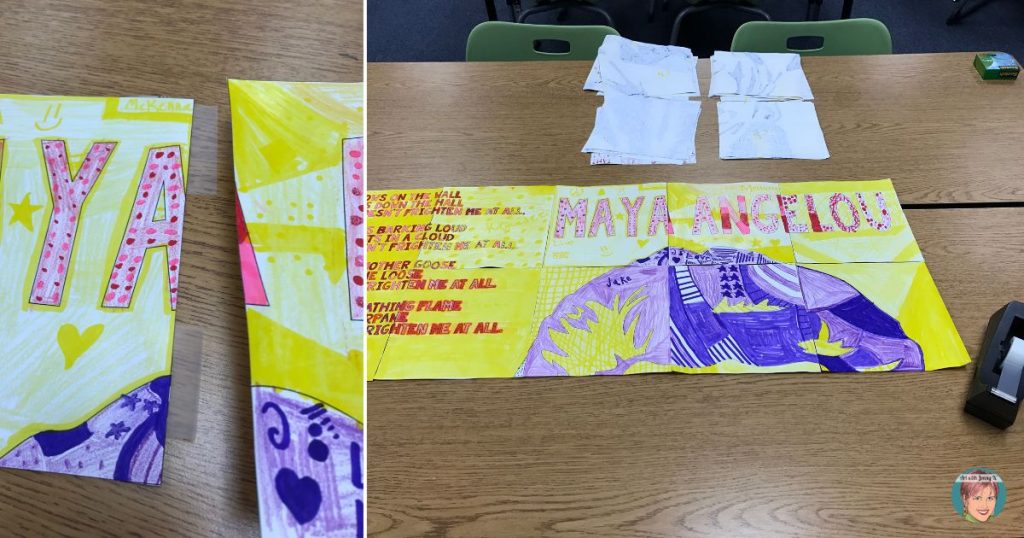
My collaboration posters are so easy – you simply color, cut, assemble, and display the final work! Each student gets one piece of the poster to color. You can either keep the colors solid (shown below on the left) or you can provide students with “shades” of the colors you want them to use and instruct them to draw shapes, patterns, and doodles in the spaces where the color is supposed to go (shown below on the right).
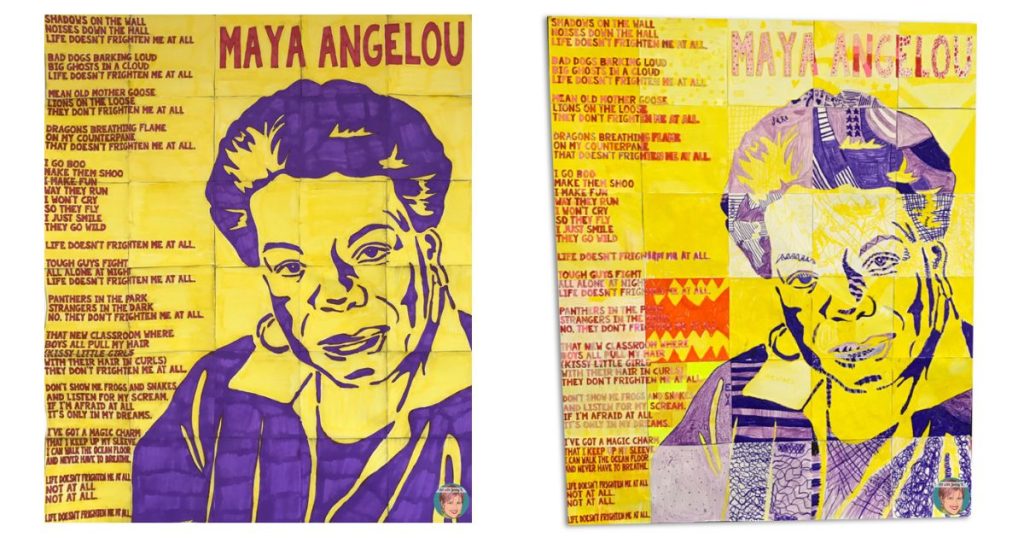
Pretty cool, huh?
Every piece of the poster has instructions for that individual page. That way, students know exactly where to place each color on their piece. There are a total of 30 pieces to the puzzle. We talk a lot about how important each student is and how they all need to do their best and give their best effort. When you do one of my collaboration portrait posters (you can do this with any of them) in this way (with patterns instead of solid colors), you provide an added layer of creativity and individuality to the project. It also makes it really easy to differentiate the poster.
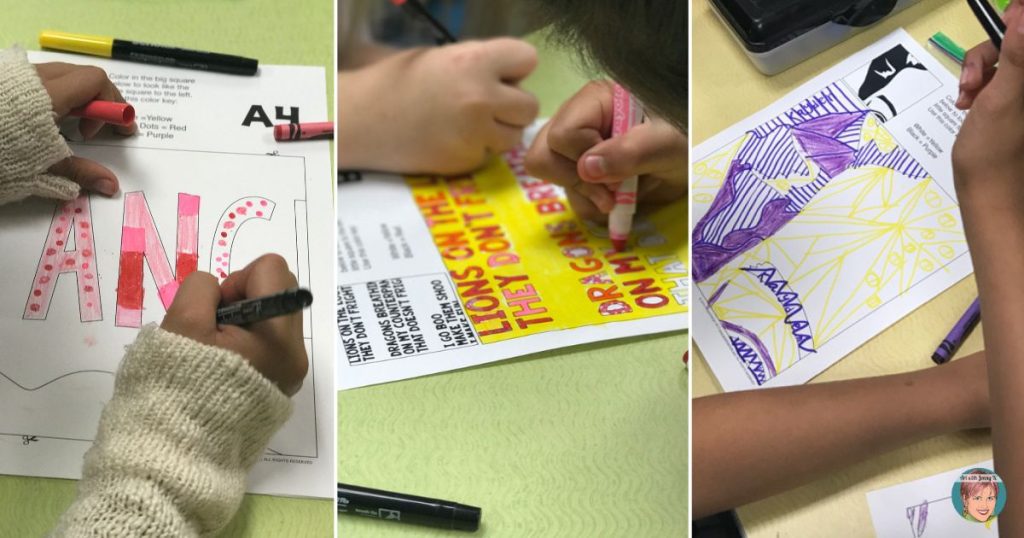
You will be amazed to find that almost no matter what sort of designs your students think of, they will always result in an outstanding final poster. The most important thing is that they adhere to placing the correct (shades of) colors in the correct place. To create multiple shades of colors and lots of texture, consider providing students with markers, crayons, and colored pencils for a mixed-media final poster. Markers are naturally darker than crayons, so by providing both, the poster will have a range of lights and darks.
As students finished their piece of the poster (at different times, of course), they pulled out their doodle notes from their Maya Angelou Poet Study and started working on that activity.
While they were working on those Maya Angelou activities, I was assembling the individual poster pieces into the final poster. It takes me about 15-20 minutes to assemble one of my posters. Of course, I’ve done them many times, but after you have done one, you will be a pro! I like to put the tape on the back of the pieces. That way, the tape doesn’t show on the front. Of course, there are many ways to put my posters together–this is just the way I like the most. You could also attach the pieces right to a bulletin board or onto a large piece of butcher paper. Depending on your printer settings, the final poster is about 35″ x 42″ when complete. After taping together one row of the poster, I then move down a row until the poster is complete. This helps keep things lined up.
All teachers do this next part differently. You can either put the poster together in front of your students (or have them help) and have them watch it as it comes together, or you can assemble it and then reveal it all at once. I chose to reveal the poster all at once with this group.
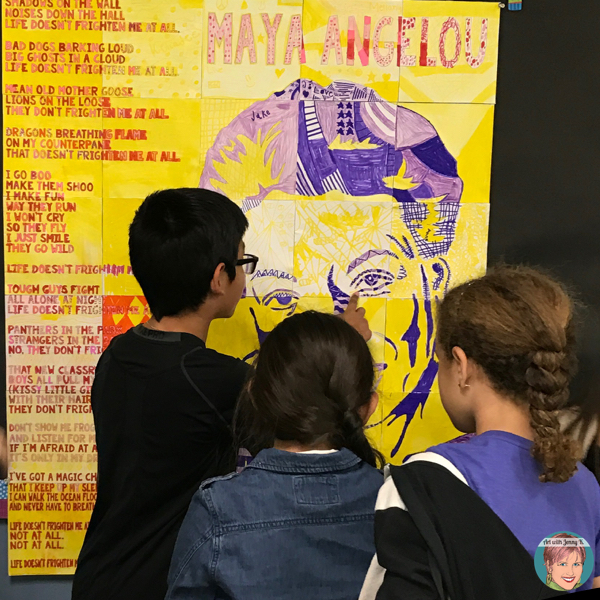
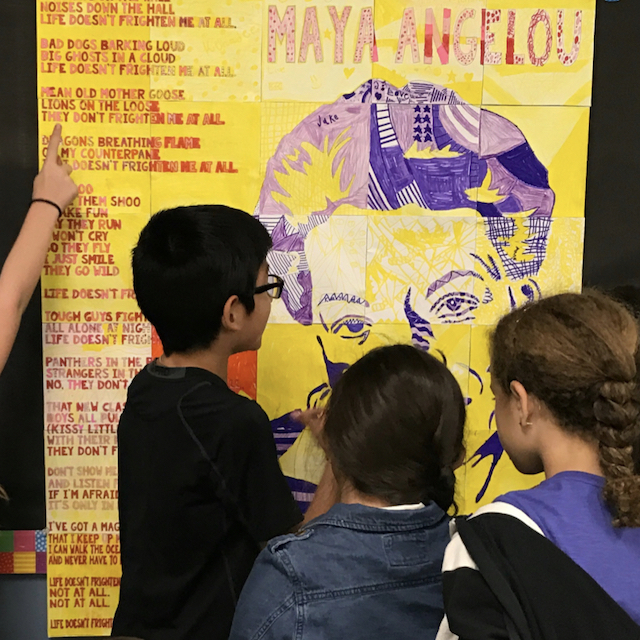
When I returned with the final poster, we read Maya’s poem, “Life Doesn’t Frighten Me” (included in the poet study unit) as a group. Students took turns reading the various stanzas and talking about what they noticed along the way. This was when the student I mentioned earlier made the connection between what we were reading and what she colored. That was then the perfect segway into revealing the final poster. When I held up their collective work, they ooohed and ahhed at the final poster. No matter how many of these I create with kids, that part NEVER gets old! If you have created one of my posters, you know exactly what I’m talking about!
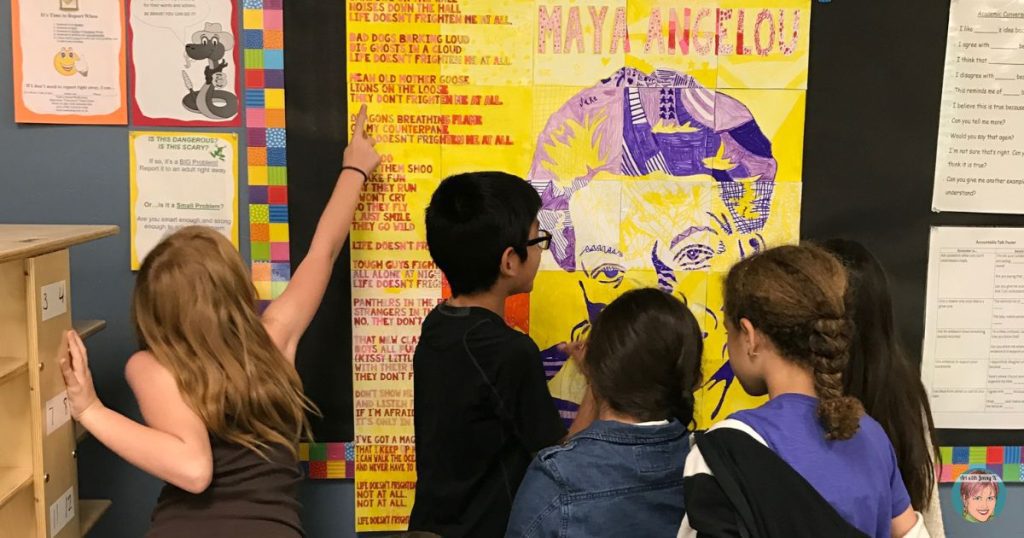
Before I left, the students rushed up to the poster to examine it and find “their” piece – something they are ALWAYS proud of! This part of the project is as valuable as the rest. It mimics viewing art in a museum or at an art show. Many students may not have experienced something like that yet in life. As they stand around, they experience the final art, examine it, critique it, and enjoy it for what it is–art that they made collectively and proudly as a group!
Maya Angelou collaboration Poster on TPT HERE.
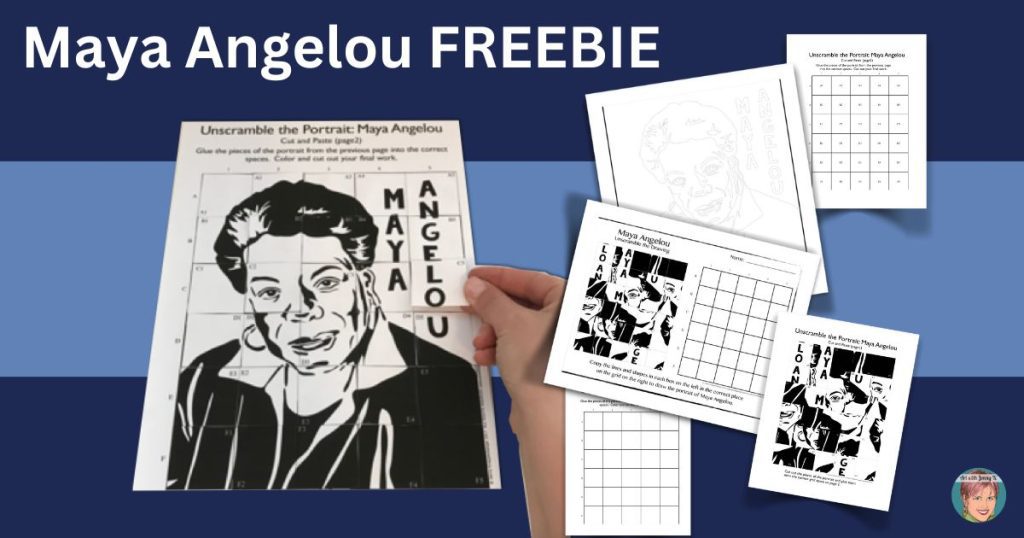
Even if you aren’t quite ready to start using either of these Maya Angelou activities in your classroom, I’d like to leave you with something you can use right away. I have created this Maya Angelou freebie that you can get when you sign up for my e-mail list.
Thanks for reading and for making art with your students.
Jenny K.