
Chalk Owl Drawing Teaching Video:
If you’d like to see the teaching video corresponding to this lesson, you can watch it HERE.
Step-By-Step Instructions: Chalk Owl Drawing
What You’ll Need for This Activity
-
-
- Black Paper 12″ x 18″
- White Crayon or Colored Pencil
- Chalks or Pastels
- Tissues or Paper Towels
- Free “How to Draw an Owl” Directed Drawing Handout found HERE
-
I want to encourage you to experiment with the materials you already have on hand. You don’t need fancy artist’s chalk to do this project, sidewalk chalk will work just the same!
In this post, I’m going to break down the specifics related to creating a chalk owl drawing, but if you don’t have chalk you can still do this activity. You can use crayons on black paper or you can use these steps to draw your owl on white paper with a regular pencil and then color it with crayons, colored pencils, or markers. Use what works for you and have some fun!
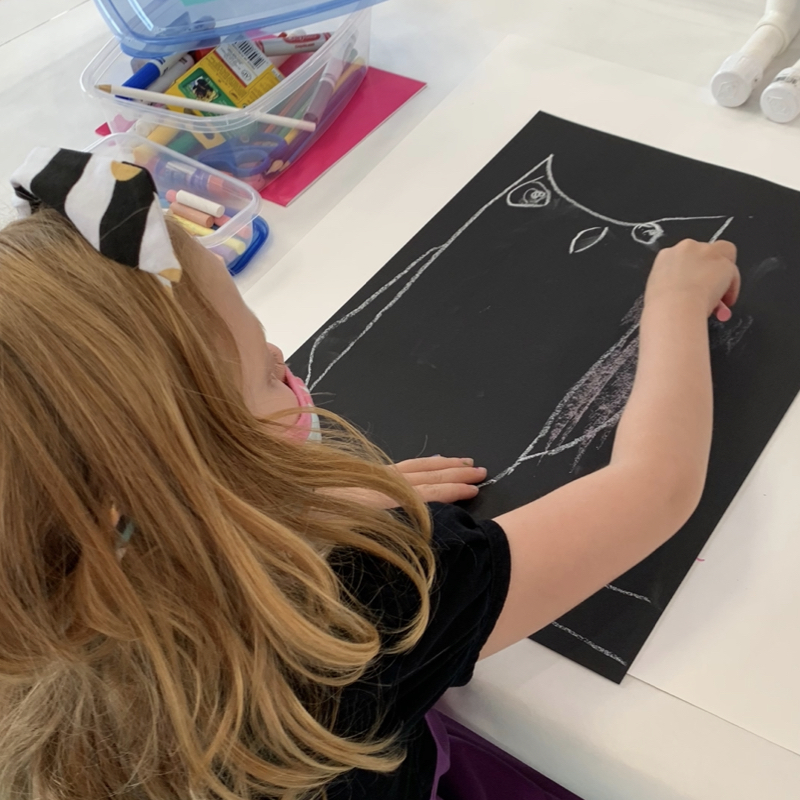
Chalk Owl Drawing Part I: Draw
If you have never used white chalk, crayons, or colored pencils on black paper then you are in for a treat. Something about this simple reverse of what we are used to will delight the senses!
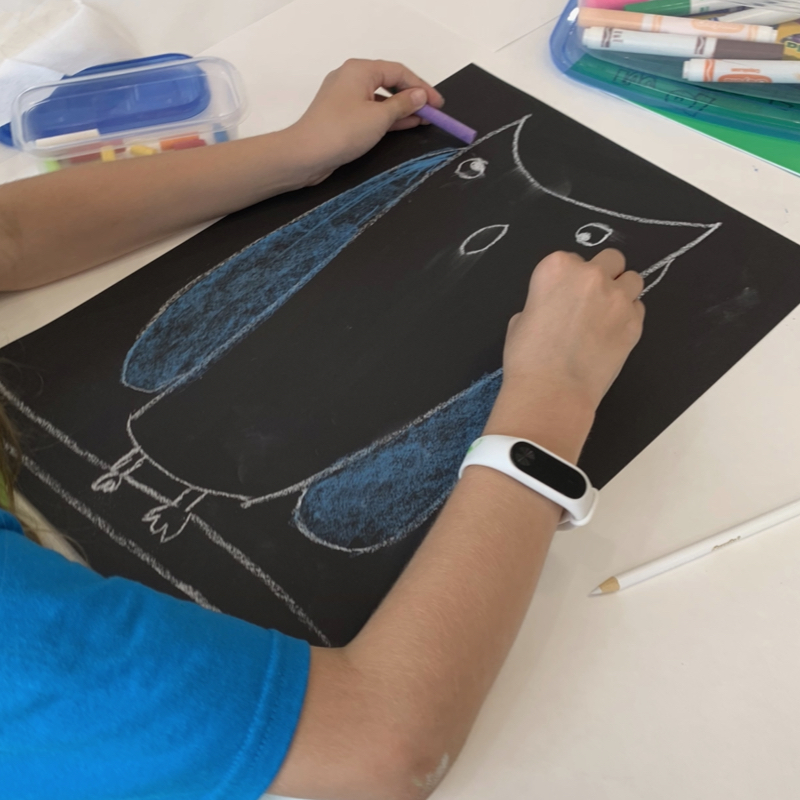
To get started on your chalk art drawing use your white crayon or colored pencil to outline your owl. I recommend using the steps and images below in combination with the How to Draw an Owl directed drawing handout (linked above or available HERE).
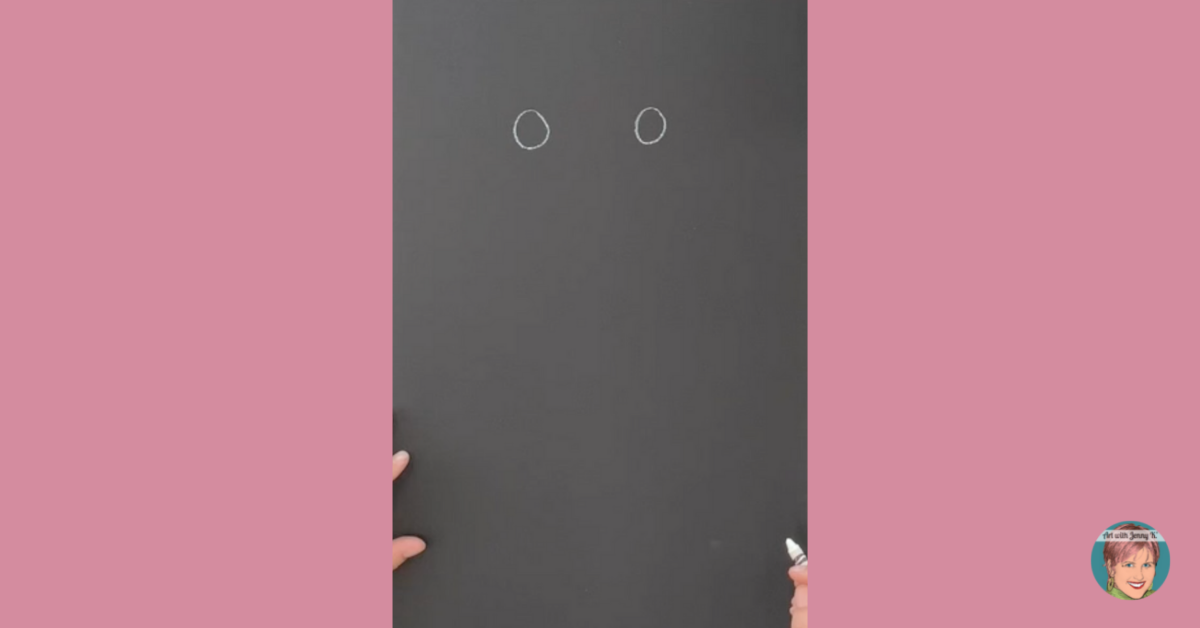
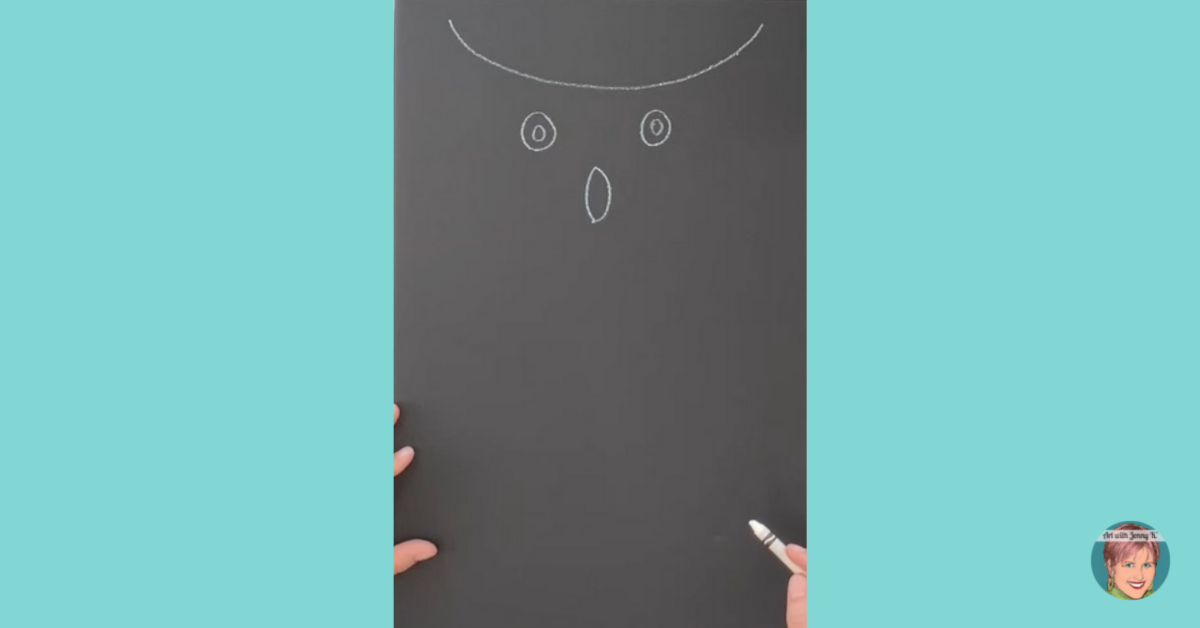
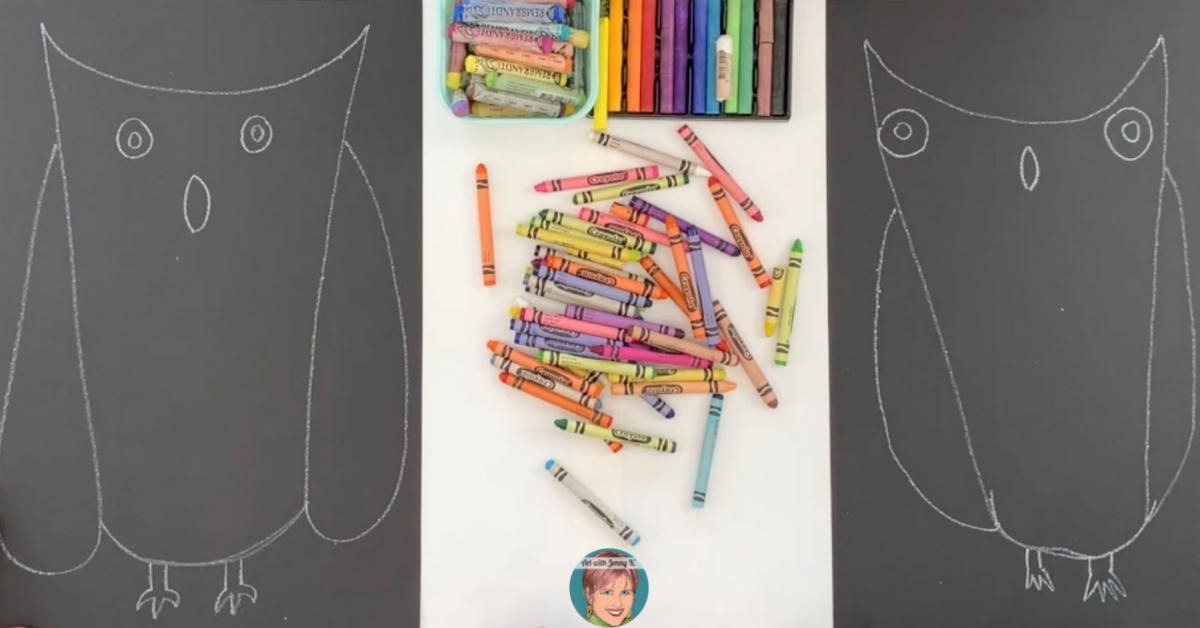
Step #1:
To get started, draw two small circles for the eyes.
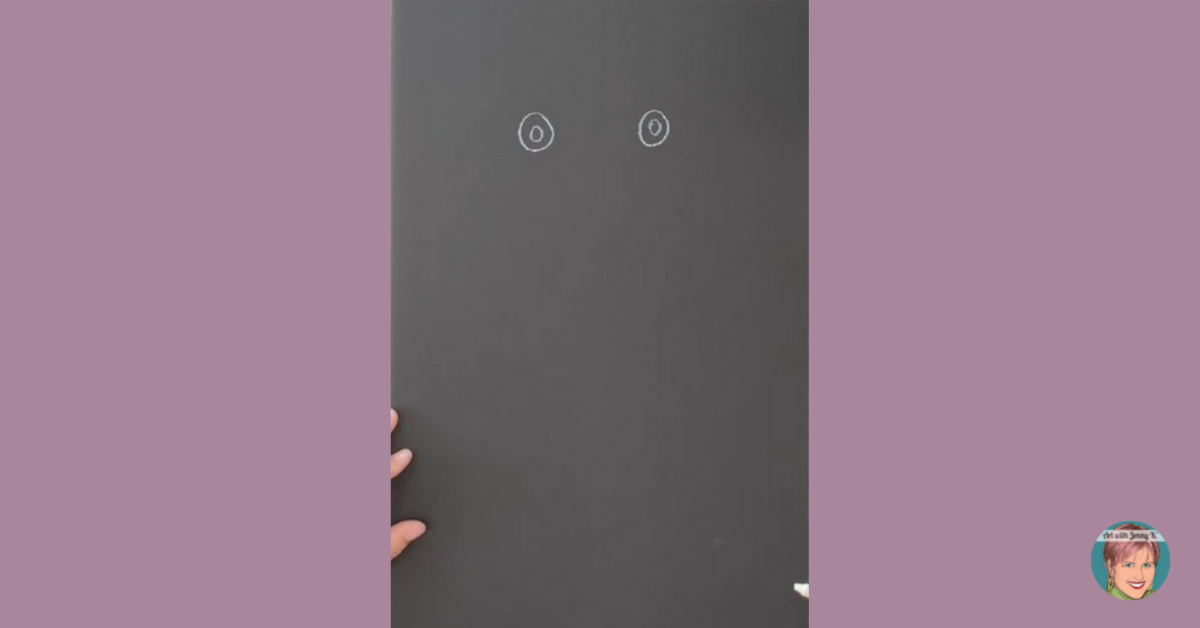
Step #2:
Draw two little dots inside the circle of the eyes.
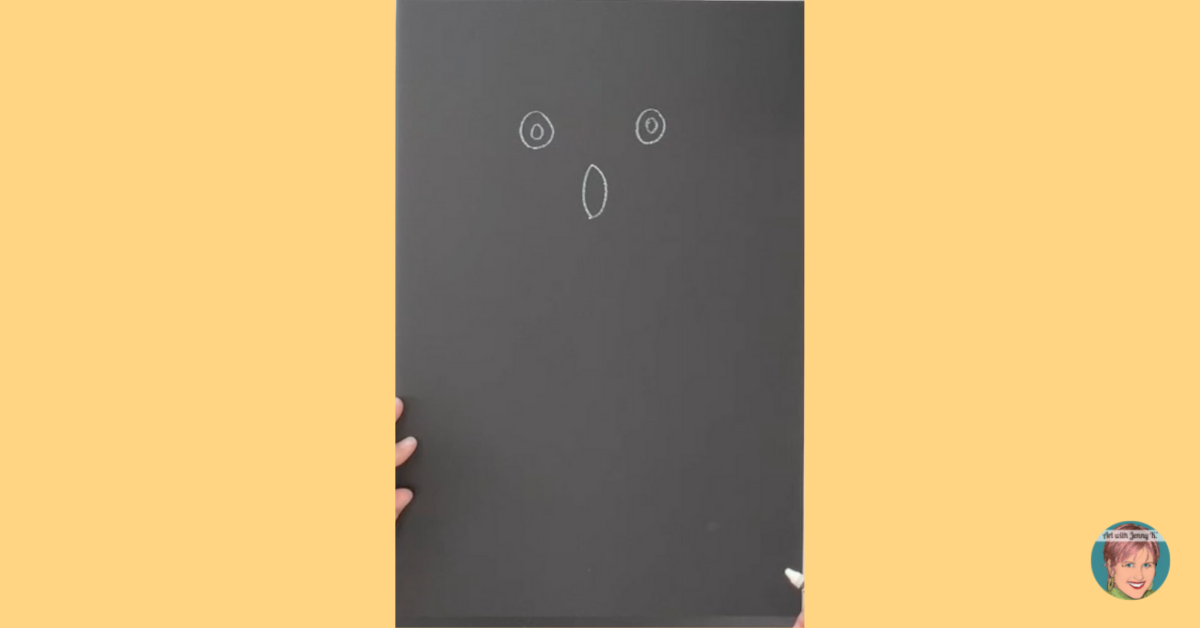
Step #3:
Draw the beak—it is a diamond shape—or an almond one.
Step #4:
Draw a broad “U” at the top of the canvas—stretch it out to look like this…
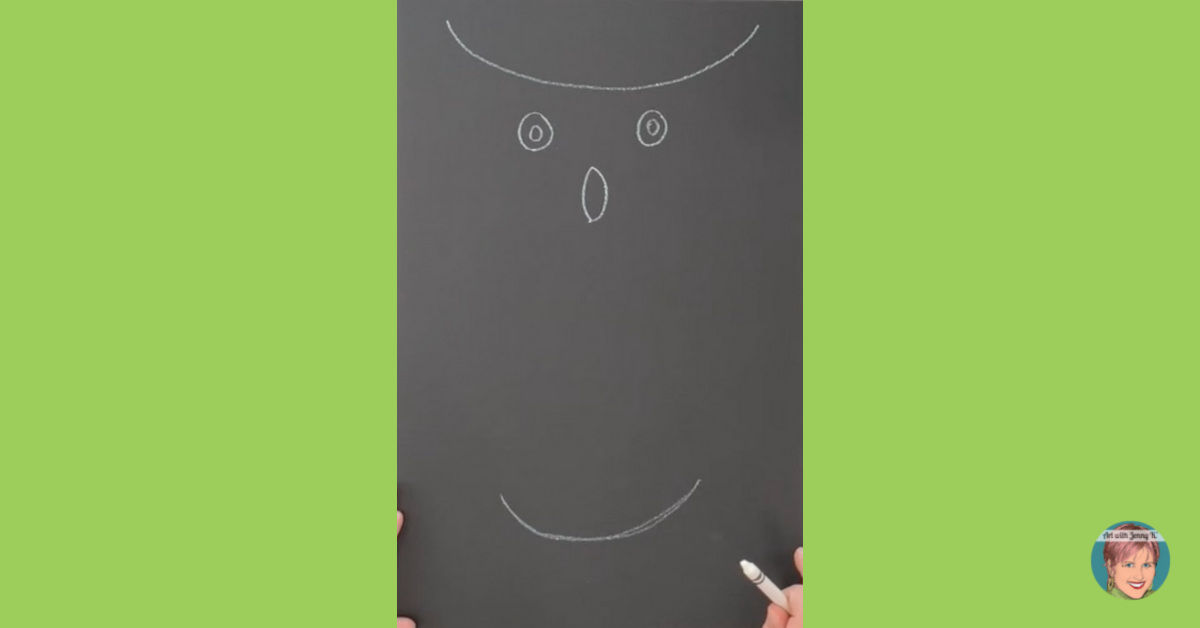
Step #5:
Draw a second “U” at the bottom of the canvas—this time not as wide as the first one and make sure to leave some room at the bottom for the feet of the owl.
Step #6:
Now, this next part is a fun shape—but it is tricky. You will draw the wing on the right side by starting at the top “U” shape and making a line all the way down to the bottom “U” and then bringing it around to create a wing—stopping at the eye. If this part is too tricky, break it down into two steps. The first is drawing a line from the top “U” shape and connecting it to the bottom “U” shape. Then bring the wing shape around to the eye.
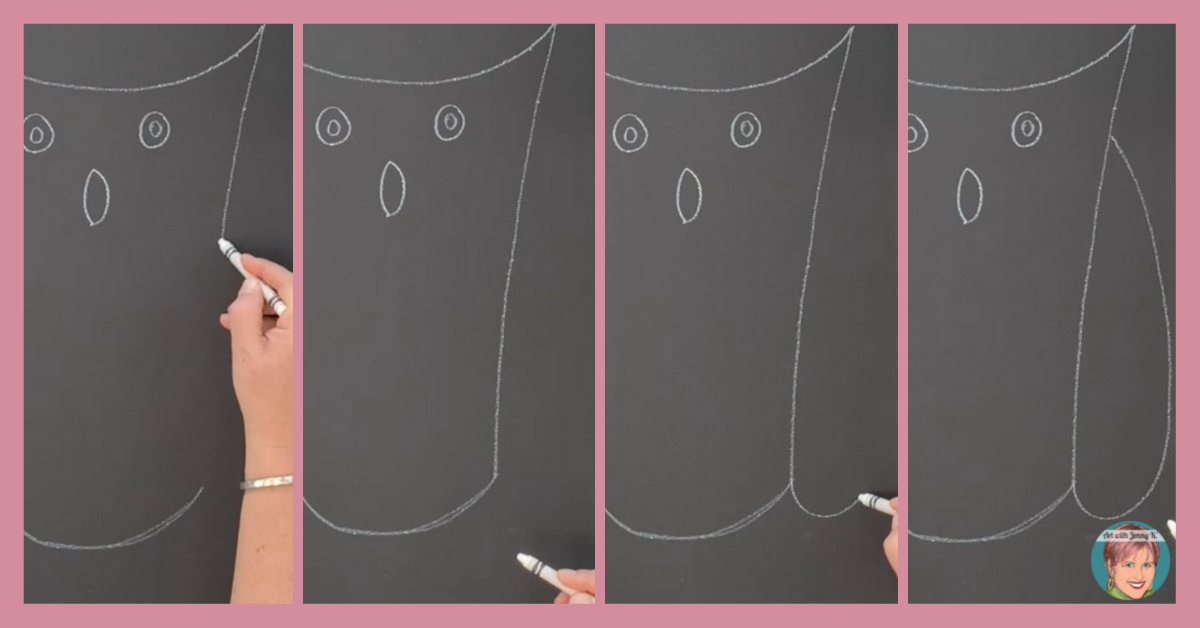
Step #7:
Repeat the last step on the left side to create the left side wing of your owl. Do the same thing where you start at the top “U” and then make a line down to the bottom “U” and then bring it around to make a wing—stopping at the eye.
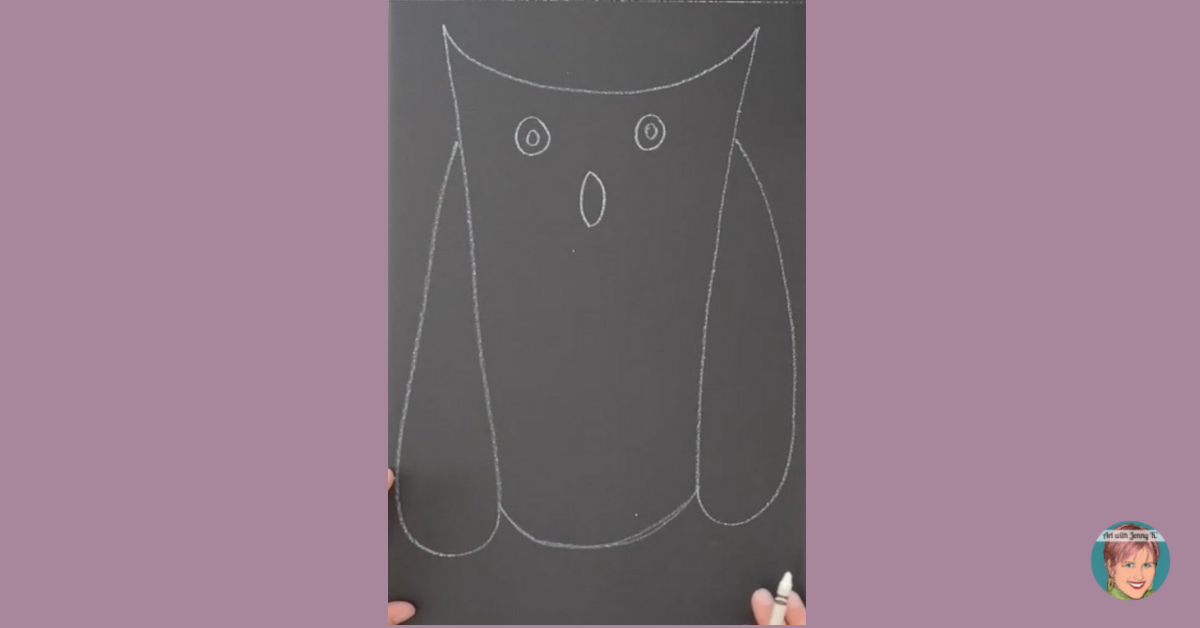
Step #8:
Now it’s time to add the feet. Draw two lines close together to represent each of the legs. Then draw the three talons on the end of each leg using a zigzag shape.
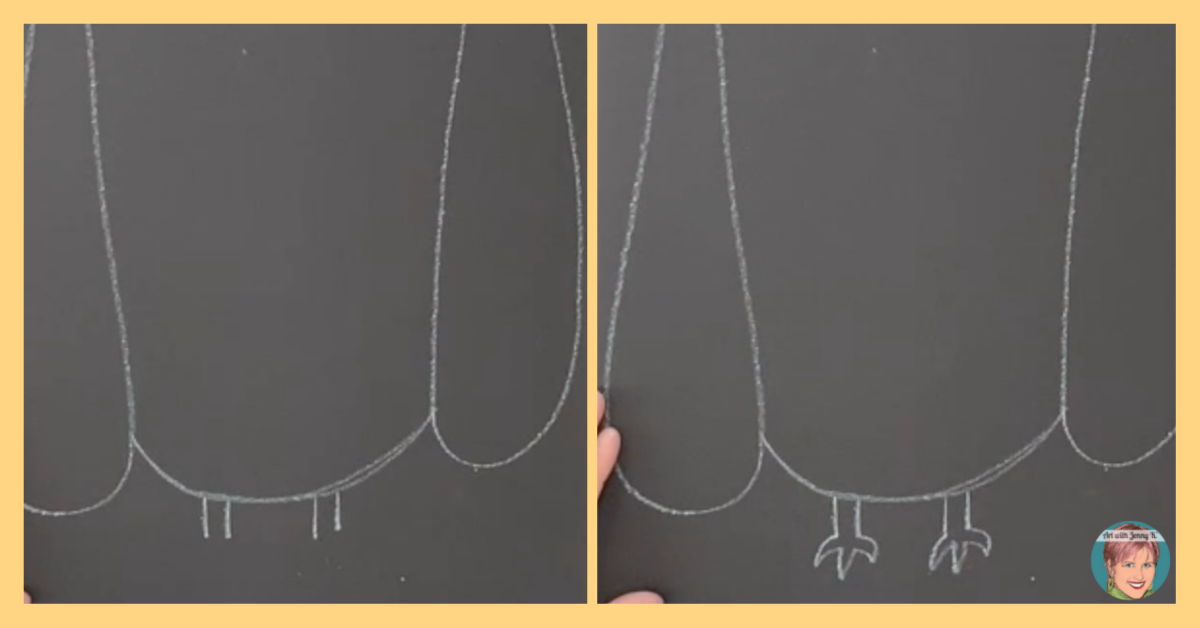
You’ll have something that looks like this…
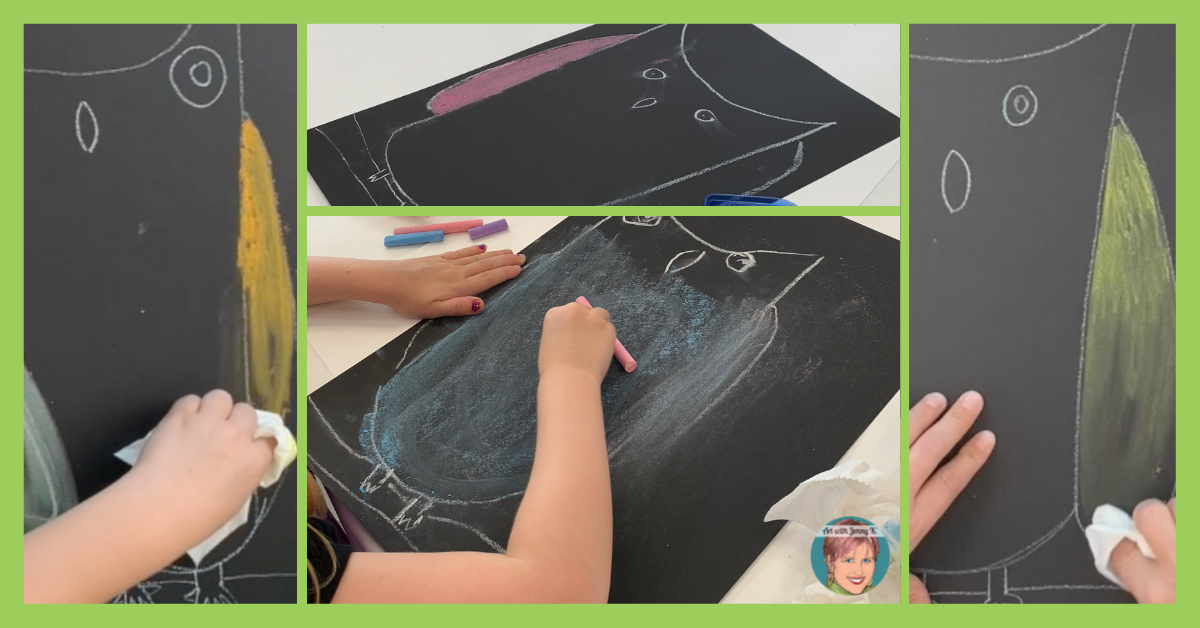
Chalk Owl Drawing Part II: Color
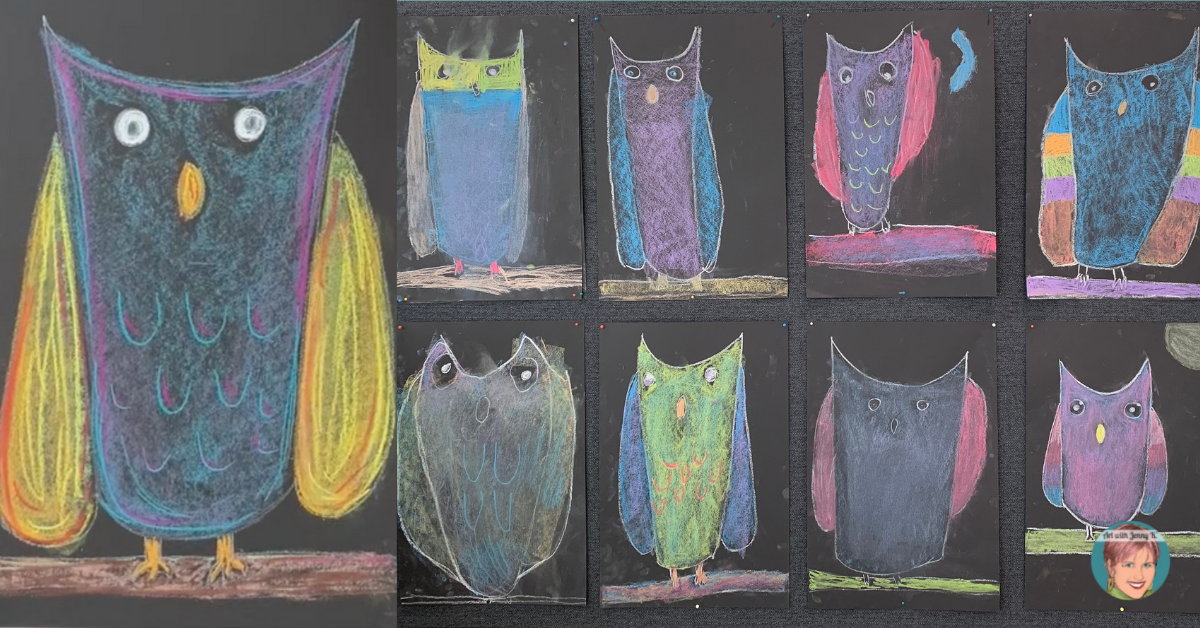
Now that you have your chalk owl outline complete, let’s talk about how to color it. Experiment with your chalk as you color your owl.
Here are a few ideas and things to think about.
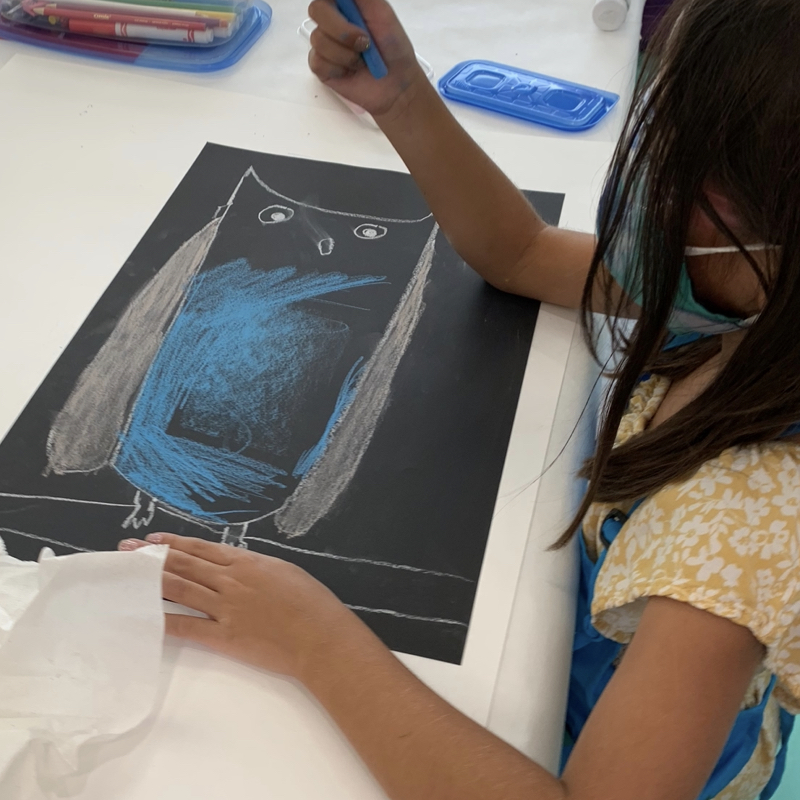
Use the Side: Holding the chalk on its side will allow you to color wide areas at a time. This is helpful not only to create a nice texture but also to color large areas. If you used larger paper, I used 12″ x 18″, then you’ll really appreciate this technique. Using chalk on its side also makes smoother lines and makes smearing (the next idea) a lot of fun.
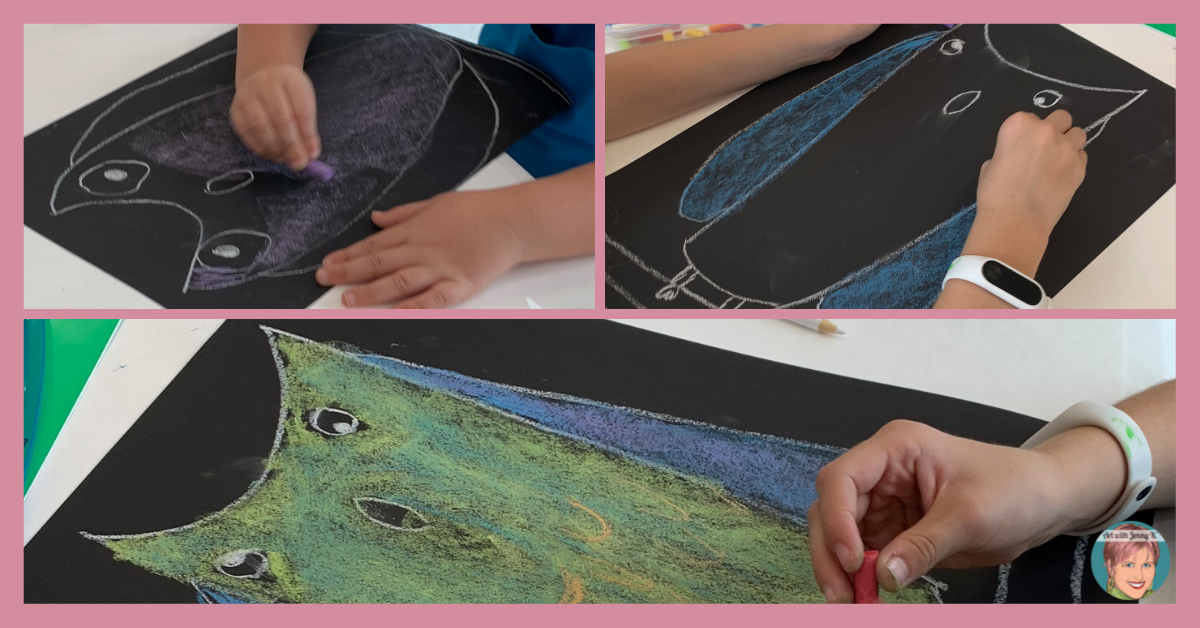
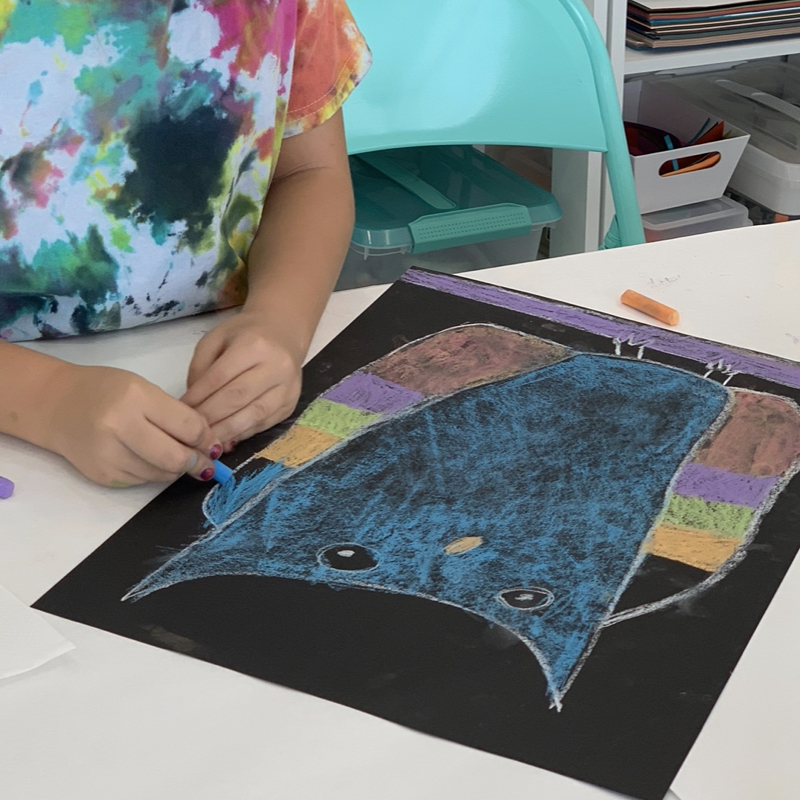
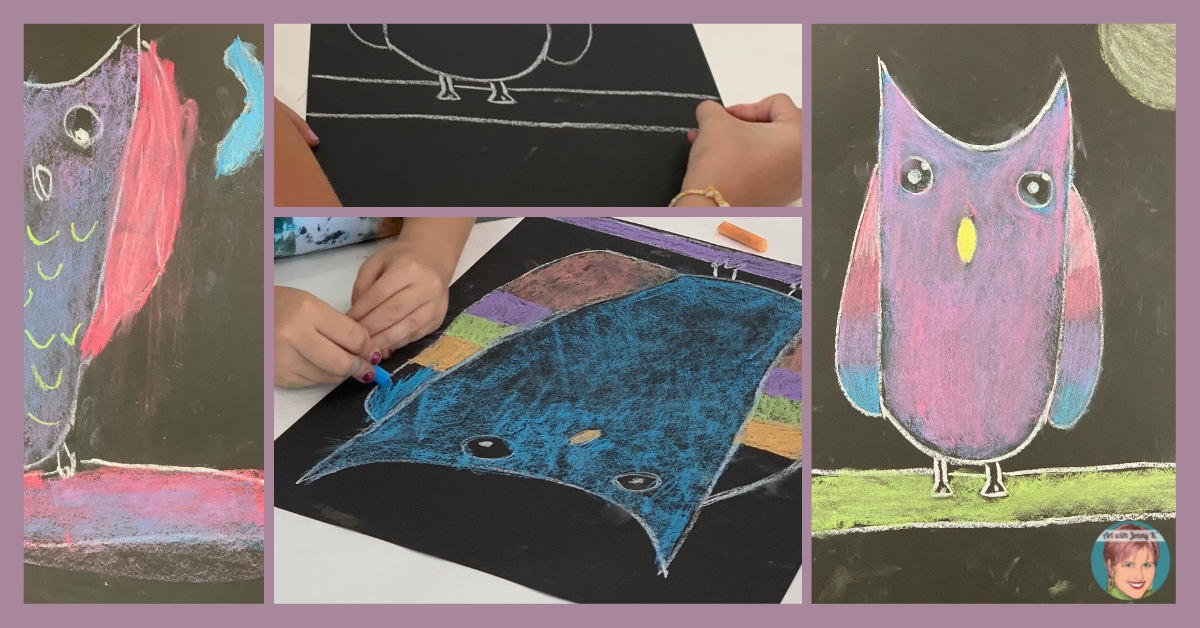
Smear & Smudge: Using a tissue to smear the chalk will create a soft, blended look. Be sure that any details that you want to be prominent, like feathers, are drawn last after you are all done smudging and smearing. Often when we make art we are trying NOT to smear or smudge our work. So allow yourself to have some fun with this technique. I think it’s one of the reasons chalk so is so much fun to work with. It’s like controlled chaos .
Background Details: Since owls are nocturnal, the black paper is already a nighttime background. However, you may wish to add a branch for your owl to perch on or a moon and stars in the background. Take this project and make it your own.
TIP: When using chalk you might find that there are excess loose bits of chalk that aren’t sticking to your paper. You’ll want to periodically tap or shake your paper over a separate sheet of paper or a trash can so they can fall free and you can keep your work area clean.
Don’t forget to sign your name on your work and display it for all to see!
You may also like…
Owl Themed Time-saving Resources
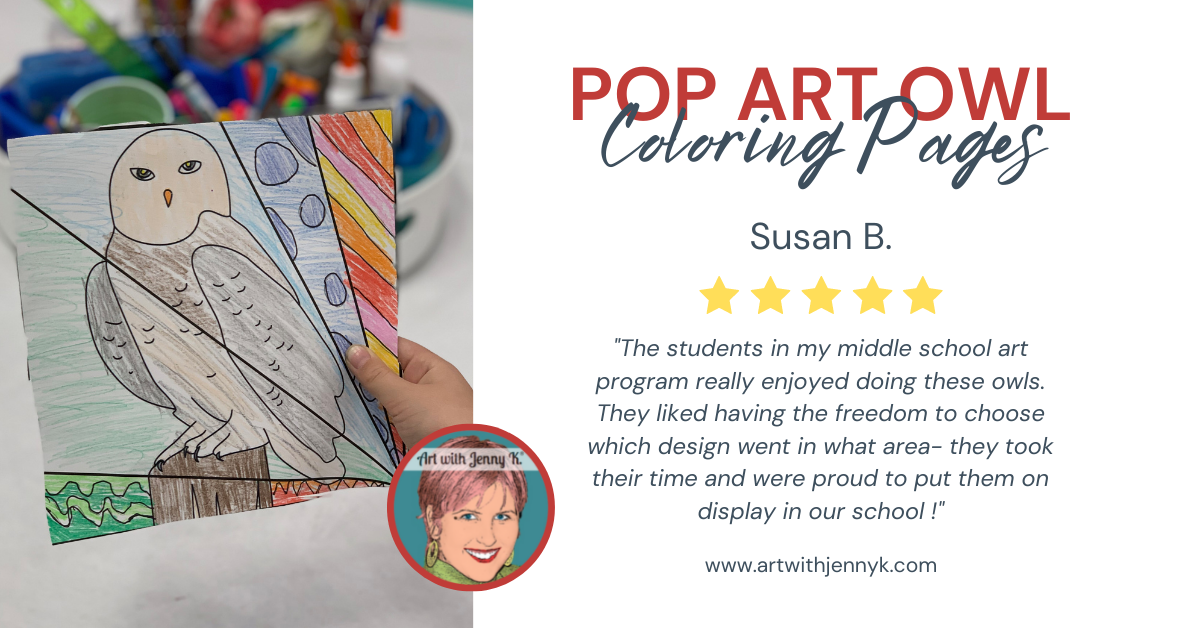
You may also like my interactive and pattern-filled “Pop Art” coloring pages of owls. These are great to use in classrooms for morning work or early finishers—and they pair perfectly with any owl art project! At home, parents love to use these with their children as well.
I have included artistic designs of…
-
-
- Eastern screech owl
- Snow owl
- Barn owl
- Great horned owl
-
I have created a style of coloring pages that allow children to truly be the artists of their artwork. With my interactive designs, no two pages will ever be the same. These pages, specifically of owls, are available in my Teachers Pay Teachers store HERE.
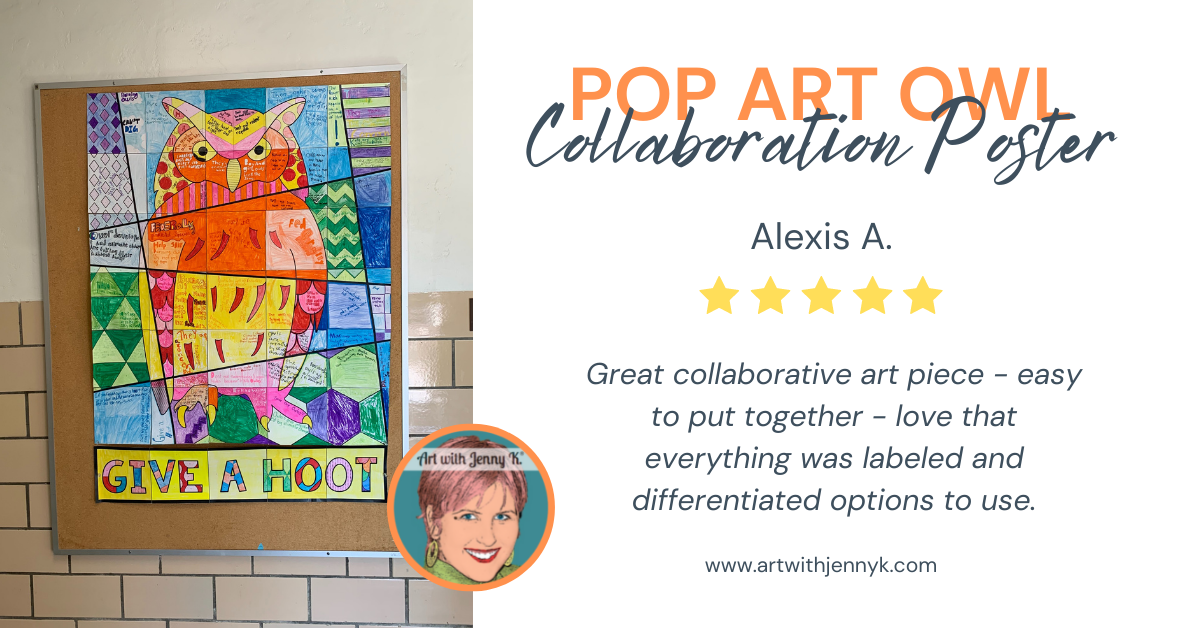
My collaboration posters are intended to complement/supplement any lesson or activity you are doing with Pop Art and/or owls. It can be paired with text about owls or used to inspire students as they write their own stories about owls. It pairs perfectly with the novel Hoot by Carl Hiaasen.
How does it work?
Each student is given one page of the poster to color. Once all sheets are colored and cut out, they are then assembled to reveal a large collaboration mosaic/poster/mural of a Pop Art owl.
Options!
There are two options so you can choose what works best for you and your students. Both options are very easy.
Poster Option #1: The colors have been assigned. Students will follow the colors assigned using a color key on each page. The poster pieces will create a large Pop Art poster of an owl when complete. For this option, I have assigned cool colors to the background of the poster and warm colors to the owl.
Poster Option #2: The colors have NOT been assigned. Let your students color the poster with whatever colors they want (or that you assign).
Poster Details:
-
-
- There are 30 pieces in this collaborative poster (either option).
- Students will color the pieces using the color key included on each page.
- The size of the final poster, when put together, is approximately 35 in. x 42 in. (the exact size will depend on your printer settings).
- You will need crayons, markers, or colored pencils in light blue, blue, purple, green, light green, red, yellow, orange, pink, and black.
-
BONUS 5-Page Banner “GIVE A HOOT” Included:
I have included a 5-page banner that says, “GIVE A HOOT.” This banner is perfect if you are pairing my poster with the novel Hoot by Carl Hiaasen—or if you’ve had your students write about ways they can help save owls.
You will find my Owl Collaboration Poster HERE
Thanks for reading,
Jenny K.