I love to feature teachers on my blog that exemplify educators who integrate the arts into their classroom in meaningful ways. Today I have a special guest post from Leslie Binder (Binder Kinder on Teachers Pay Teachers). We connected a few years ago when she sent me a video of her students during the great reveal of one of my collaboration posters. Since then, we have kept up with each other, and I enjoy following her on Instagram to see all the wonderful and creative ways she supports her students.
Last year she sent me amazing photographs of my Valentine’s Day Collaboration Poster and I was just blown away by the way she adapted my poster for her class. I invited her to share what she did (and how) with you all. Here is what Ms. Binder from Binder Kinder has to say about this project, in her words…
Featured Teacher: Leslie Binder from Binder Kinder
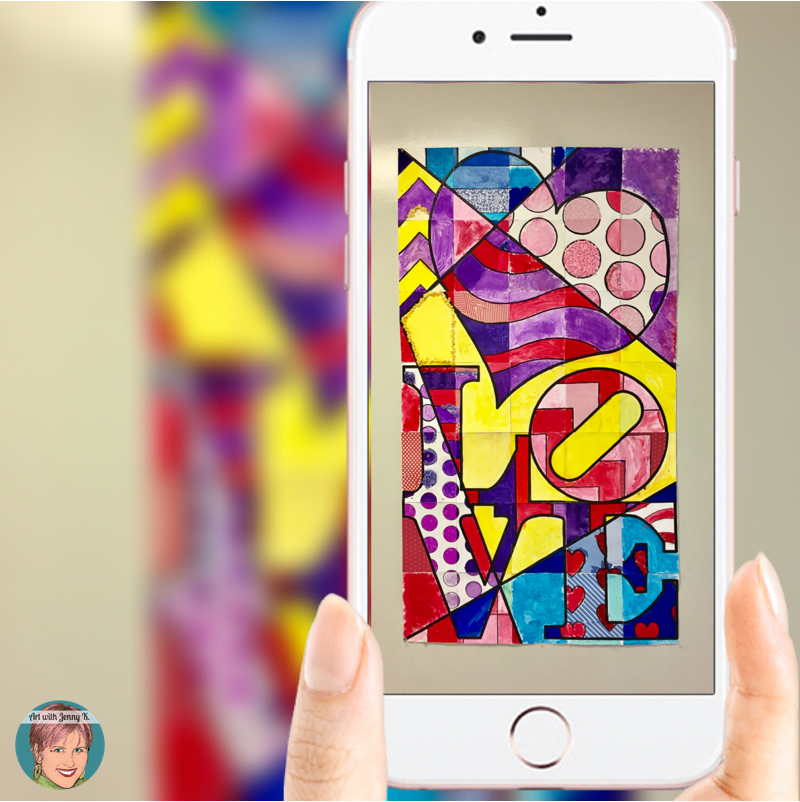
Four simple letters, that when put together, create a form expression called LOVE.
The way we express love is different for each of us. We love different people, places, and things in our lives, each in a unique way.
For the students in my class, Valentine’s Day is a day to share our love for each other and the family we have become. We are a unit. We learn from one another, support each other, and appreciate each other’s unique differences. Expressing that through art, a form of expression that thrives on individuality, creativity, and imagination, seemed like the perfect way to celebrate.
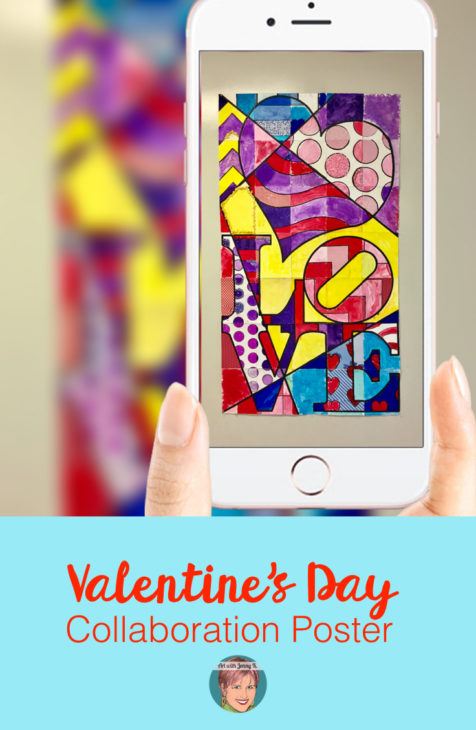
Enter the Art with Jenny K’s Valentine’s Day Collaborative Door Poster. I remember seeing it and thinking that it was tailor-made for us! Rather than having my students color the pages using crayons, I decided to go a different route and use various artistic mediums. I thought of the coaches on American Idol and The Voice, encouraging the contestants to make a song “their own.”
Each student would be able to make a piece that represented their own unique vision, but also be an equal part of the whole poster.”
Each student was given at least one piece. Most students got two because there were more pieces than students.
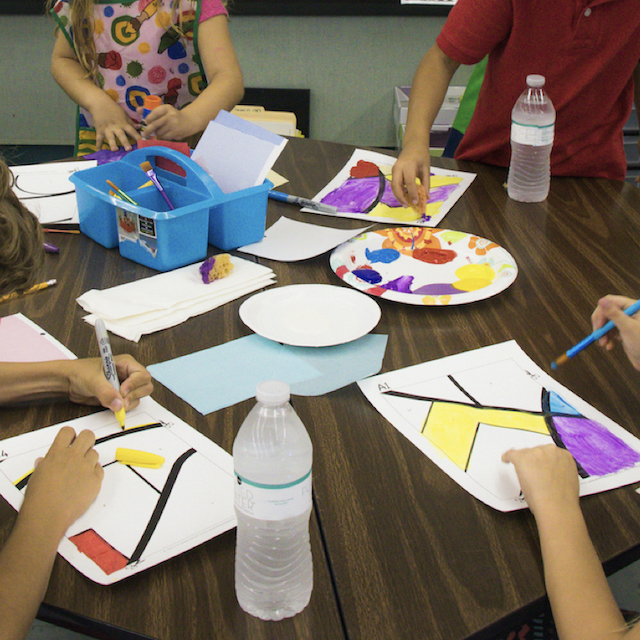
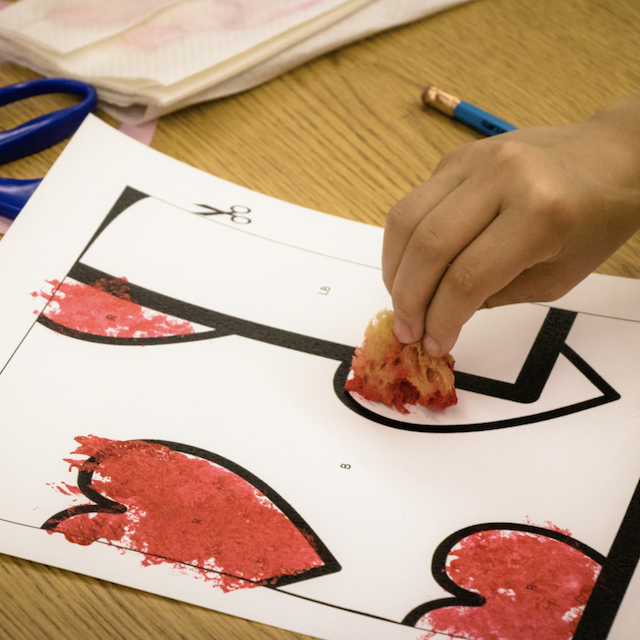
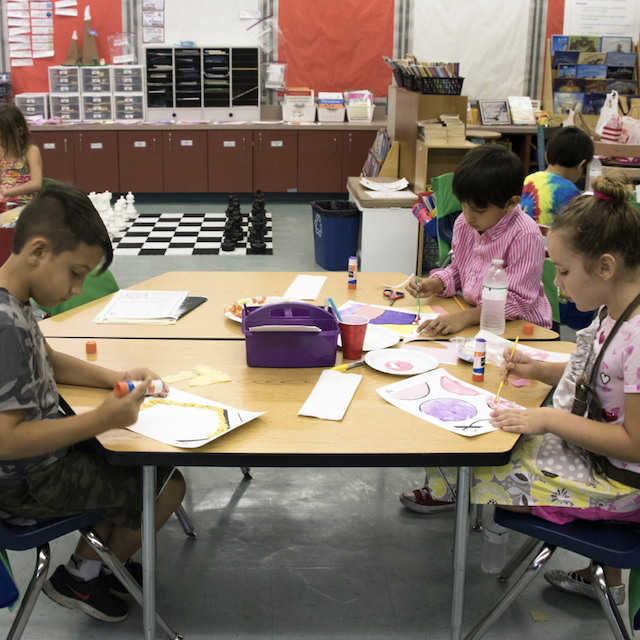
My students sit at tables, so a supply bin was put together for each table. Each bin included a variety of materials for the students to choose from. The different materials are listed below.
-
-
- Paint
- Paintbrushes
- Sponges
- Scrapbook paper
- Markers
- Fabric
- Tissue paper
- Glitter
-
Each bin of materials included the different artistic mediums and each medium in various colors (based on the colors indicated in the directions).
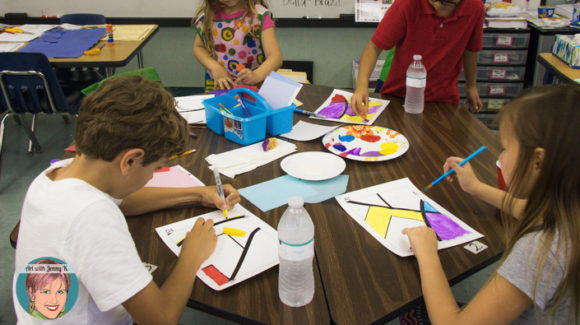
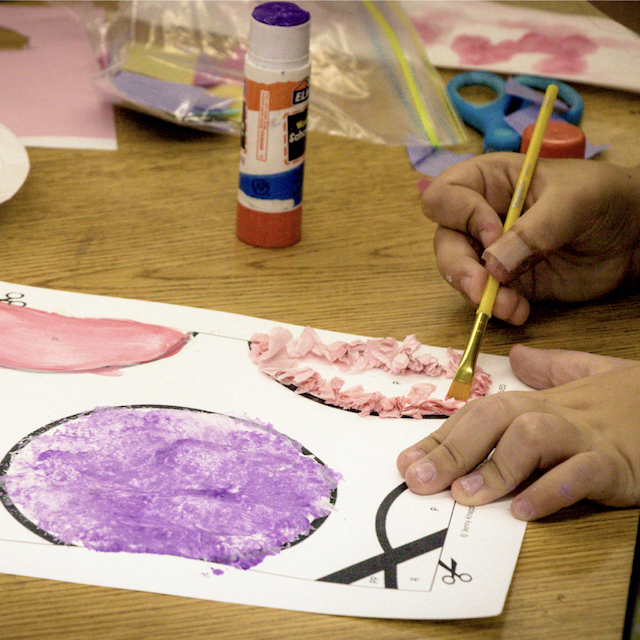
The uninhibited artists just dove right in, while others planned how they would fill each space.
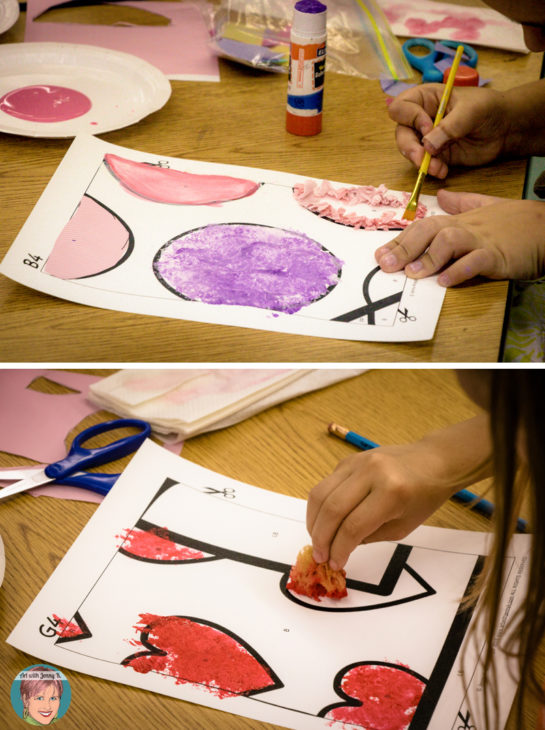
The students worked on their pieces for about an hour. When they were done, their pieces were placed in an isolated area of the room to dry. I left them there overnight to ensure they would be completely dry once I started cutting them. As I finished cutting each one, I wrote each sheet’s coordinate in the top right corner of the back of the piece.
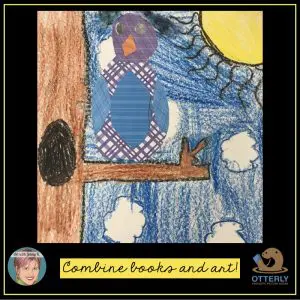
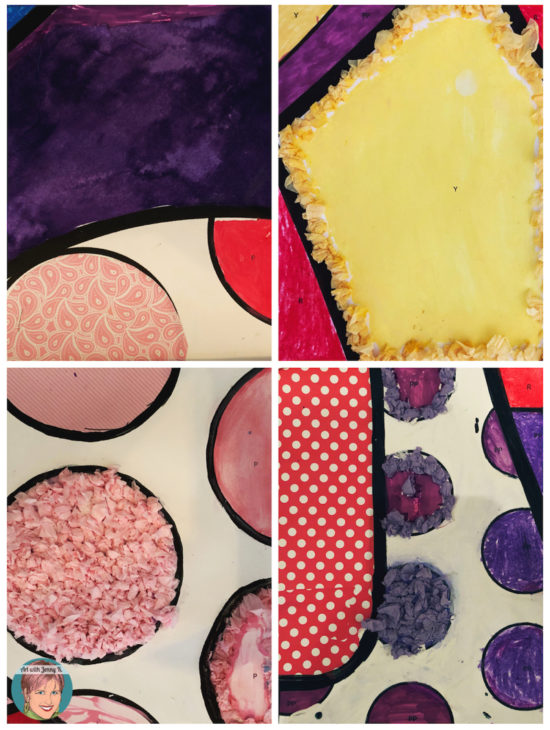
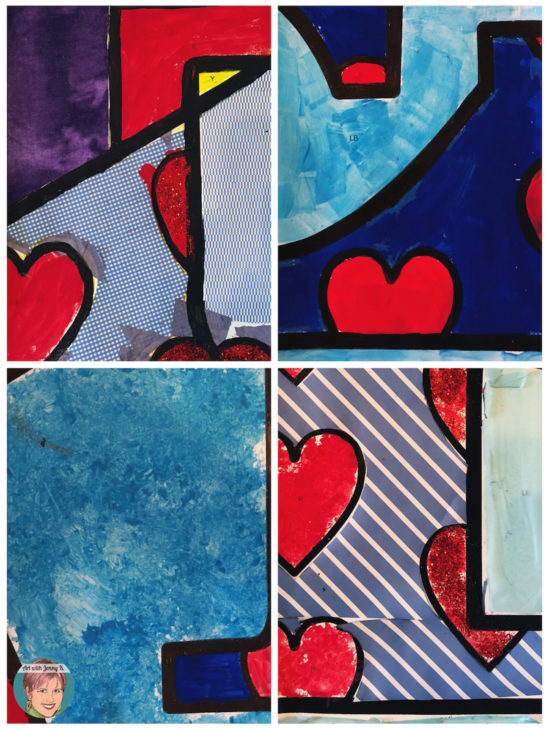
Here are some close-up shots of the pieces.
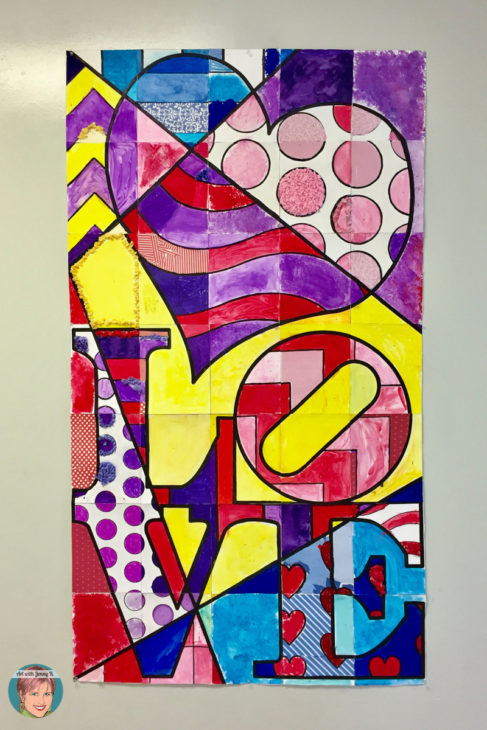
When I arrived at school the next morning, I cut and labeled each piece. That afternoon, after dismissal, I put the poster together. I chose to put the pieces, face up, on butcher paper. I found this to be the most effective way to see any pieces that didn’t seem to align properly. I rolled out the white butcher paper, longer than the length of the poster, figuring I would cut the bottom after all the pieces were placed. In addition, if there was extra space on the side, I could trim that off as well. I did not use any adhesive at this point. I just placed the pieces to get a more precise idea of where they would go.
I started by placing piece A1 in the top left corner. Next, I placed piece A5 in the top right corner. After that, I placed piece B1, followed by B5, continuing that pattern until both sides were done. Then, I placed pieces A2-A4 and G2-G4 to complete the top and bottom rows. Finally, I filled in the middle by completing each row, starting with B and ending with F. I made little adjustments as needed. Using the leftover materials, I filled in any unoccupied space.
Once I was certain I was ready to apply the adhesive, I carefully lifted each piece (trying to keep the surrounding pieces in place), put double-sided tape along the back edges, and placed the piece on the butcher paper, face up. I then pressed down with my hand to secure the piece in place. Once all the pieces were secured, I cut the bottom and trimmed the sides.
My students had no idea what the final product would look like. The next day, during special, I hung up the poster. I chose to hang it on the wall of the hallway leading to our classroom. I wanted everyone to see it! Since our classroom was tucked away in the corner of the building with little traffic, the classroom door wasn’t in a prime location. The wall at the opposite end seemed to be better suited. When I picked up the students from special, I had them line up in a single file line, placing their hands on the student’s shoulders in front of them. Their eyes were closed as we walked to the room. When we arrived at the corner of the hallway, where the poster was hanging, I told them they could open their eyes.
They stood in awe of what they had created! The product of each of their unique visions fused into one magnificent piece of art!
Leslie is obviously a very dedicated teacher. She took so much time to make this collaboration poster meaningful for her students and share it with her school community. She also uses her spare time to share some of her ideas with other teachers in her Binder Kinder TPT store. I want to share one of her Black History Month resources with you.
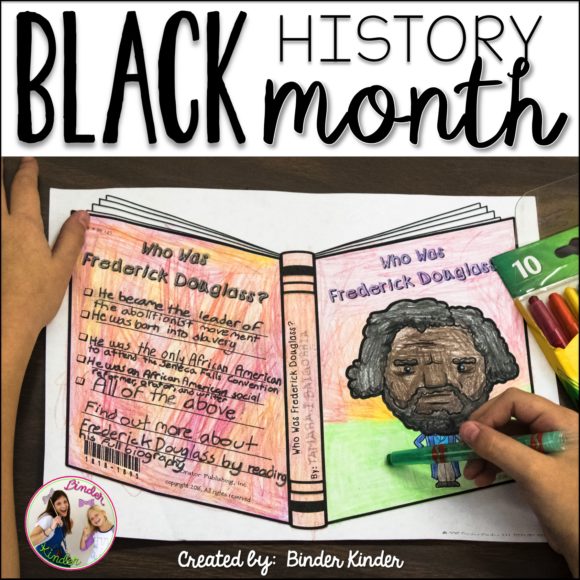
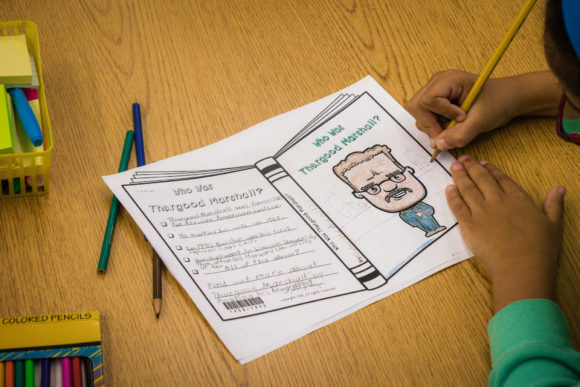
This resource allows kids to be creative and learn about more than 20 important historical people, including Ruby Bridges, Rosa Parks, and Martin Luther King Jr., to name a few. Here you can see a student working on their Thurgood Marshall page.
I love that this resource exposes students to so many historical figures, AND I love that it has so many creative options, such as the cover design. This resource has an option where students can draw their own covers…and you know I love that!
You can find this resource (and many others from Ms. Binder) in her TPT store, Binder Kinder.
Thanks for reading – and for making art with your students!
Jenny K. & Leslie Binder